- 21 Aug 2024
- 3 Minutes to read
- Print
- DarkLight
- PDF
New Visit
- Updated on 21 Aug 2024
- 3 Minutes to read
- Print
- DarkLight
- PDF
First let's start by defining what a Visit in BuiltSpace terms is.
Visit
A visit is a collection of tasks that need to be performed across a specific asset group. For example, you might have to do a PM in a building on all roof-top units. The PM will have a list of let's say 50 assets that you must go through. In BuiltSpace terms, we would call this walkthrough of 50 assets the Visit.
Visits have progress tracking enabled on them, meaning that as you complete work on an asset and hit Submit in the app, that asset will fall off the list. Your goal is to ensure that all assets in the visit get completed.
You can start a New Visit on the Service Twin App by following the steps below:
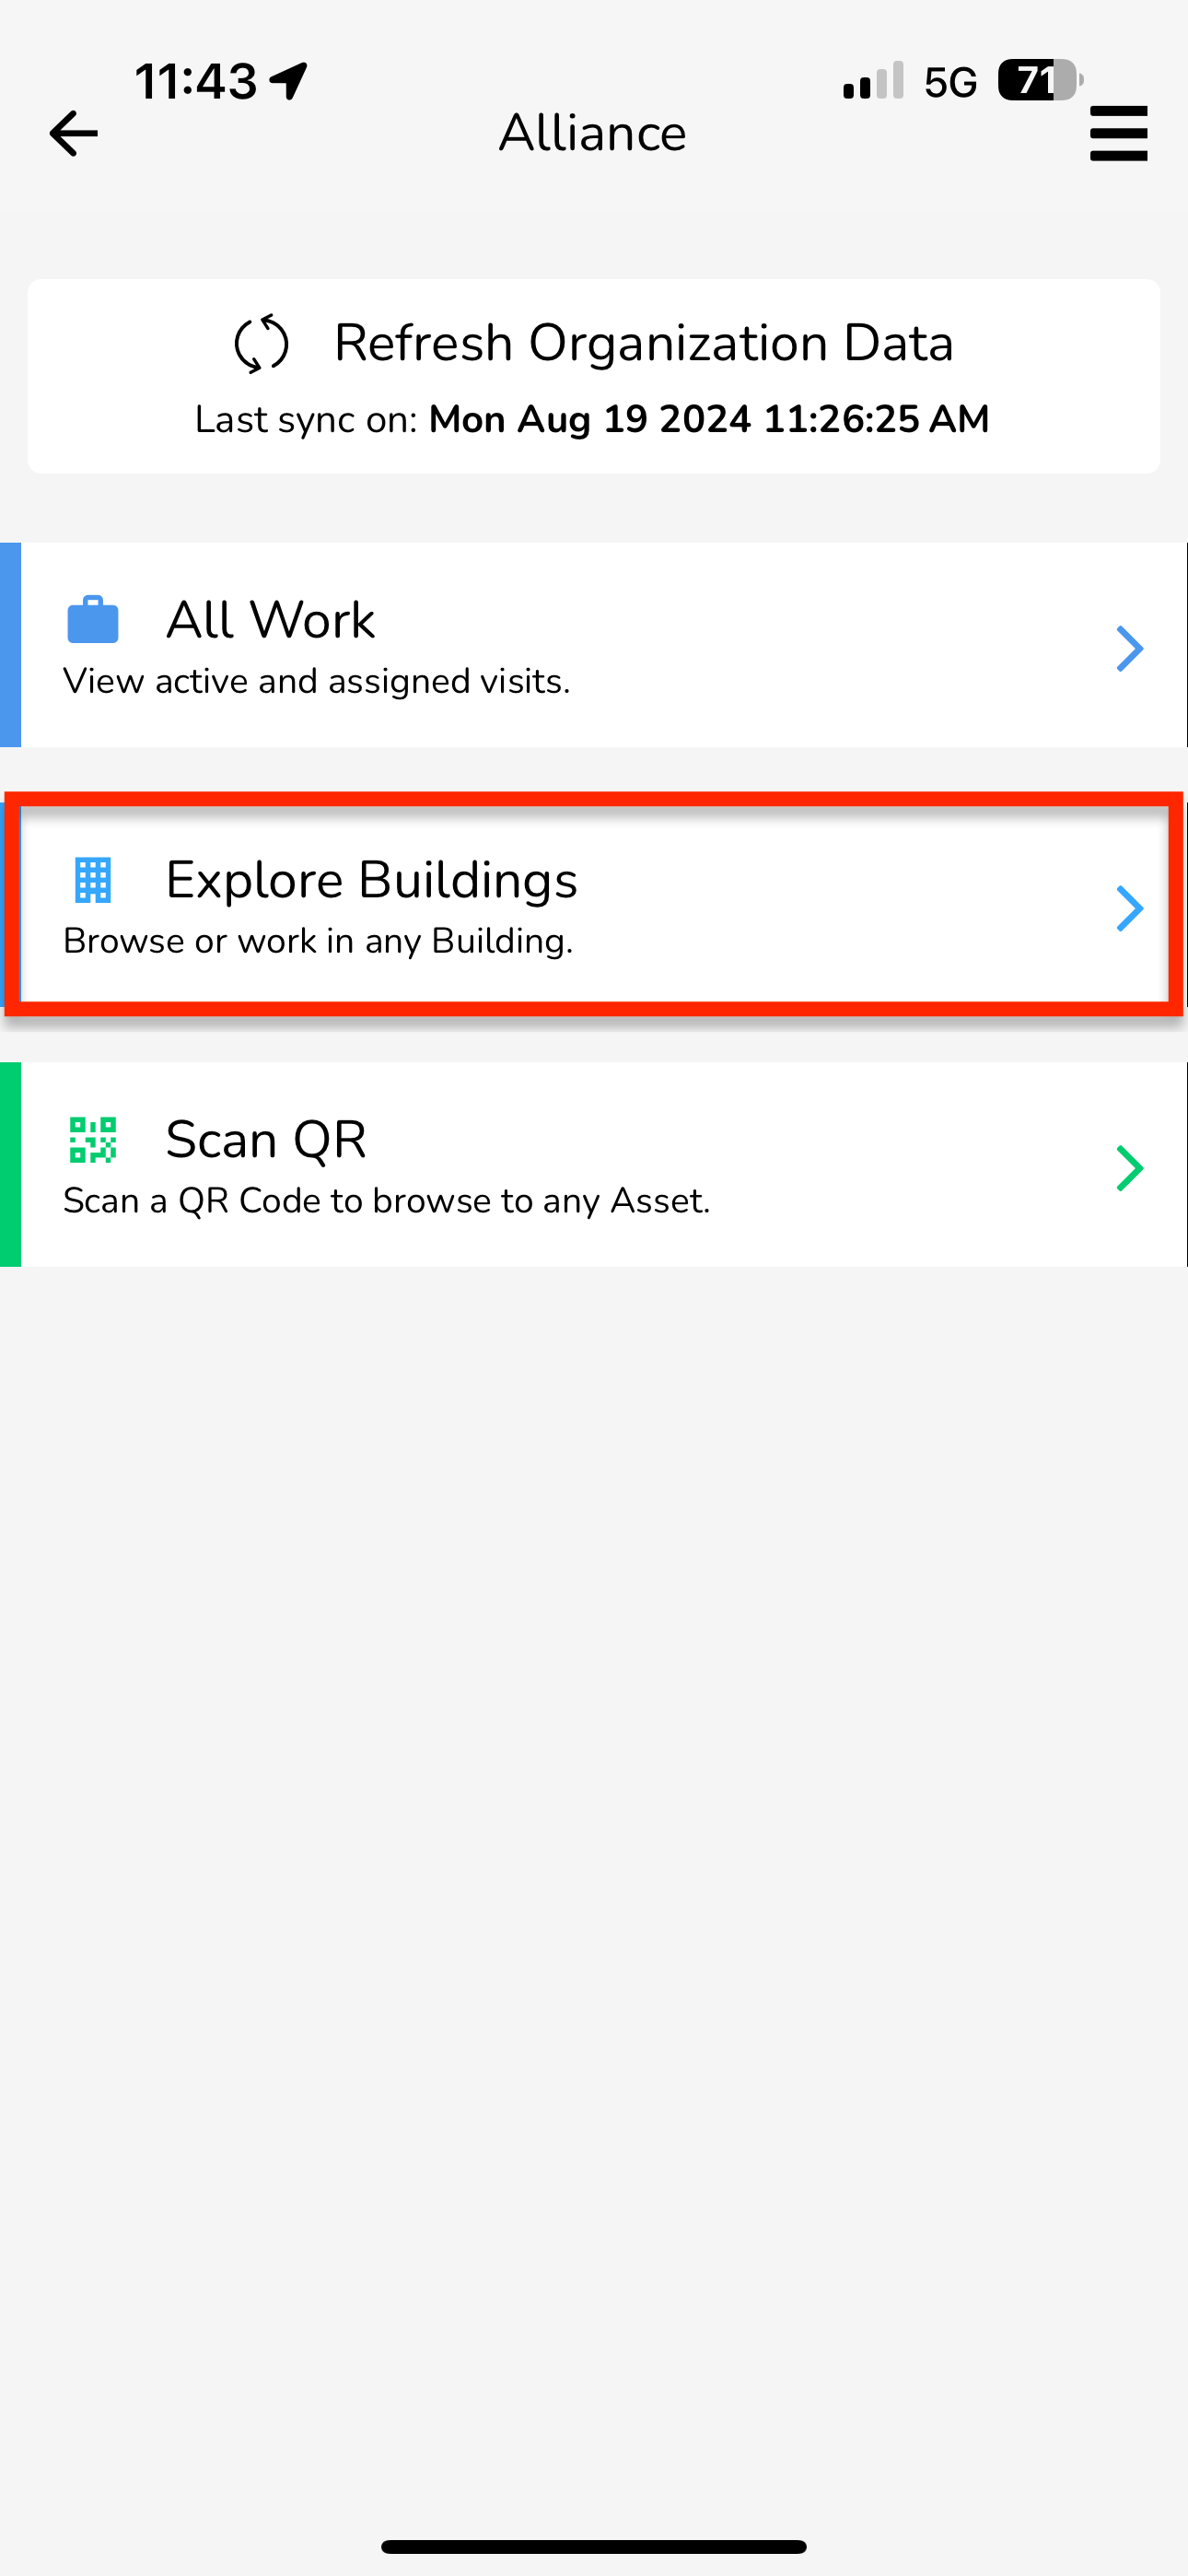
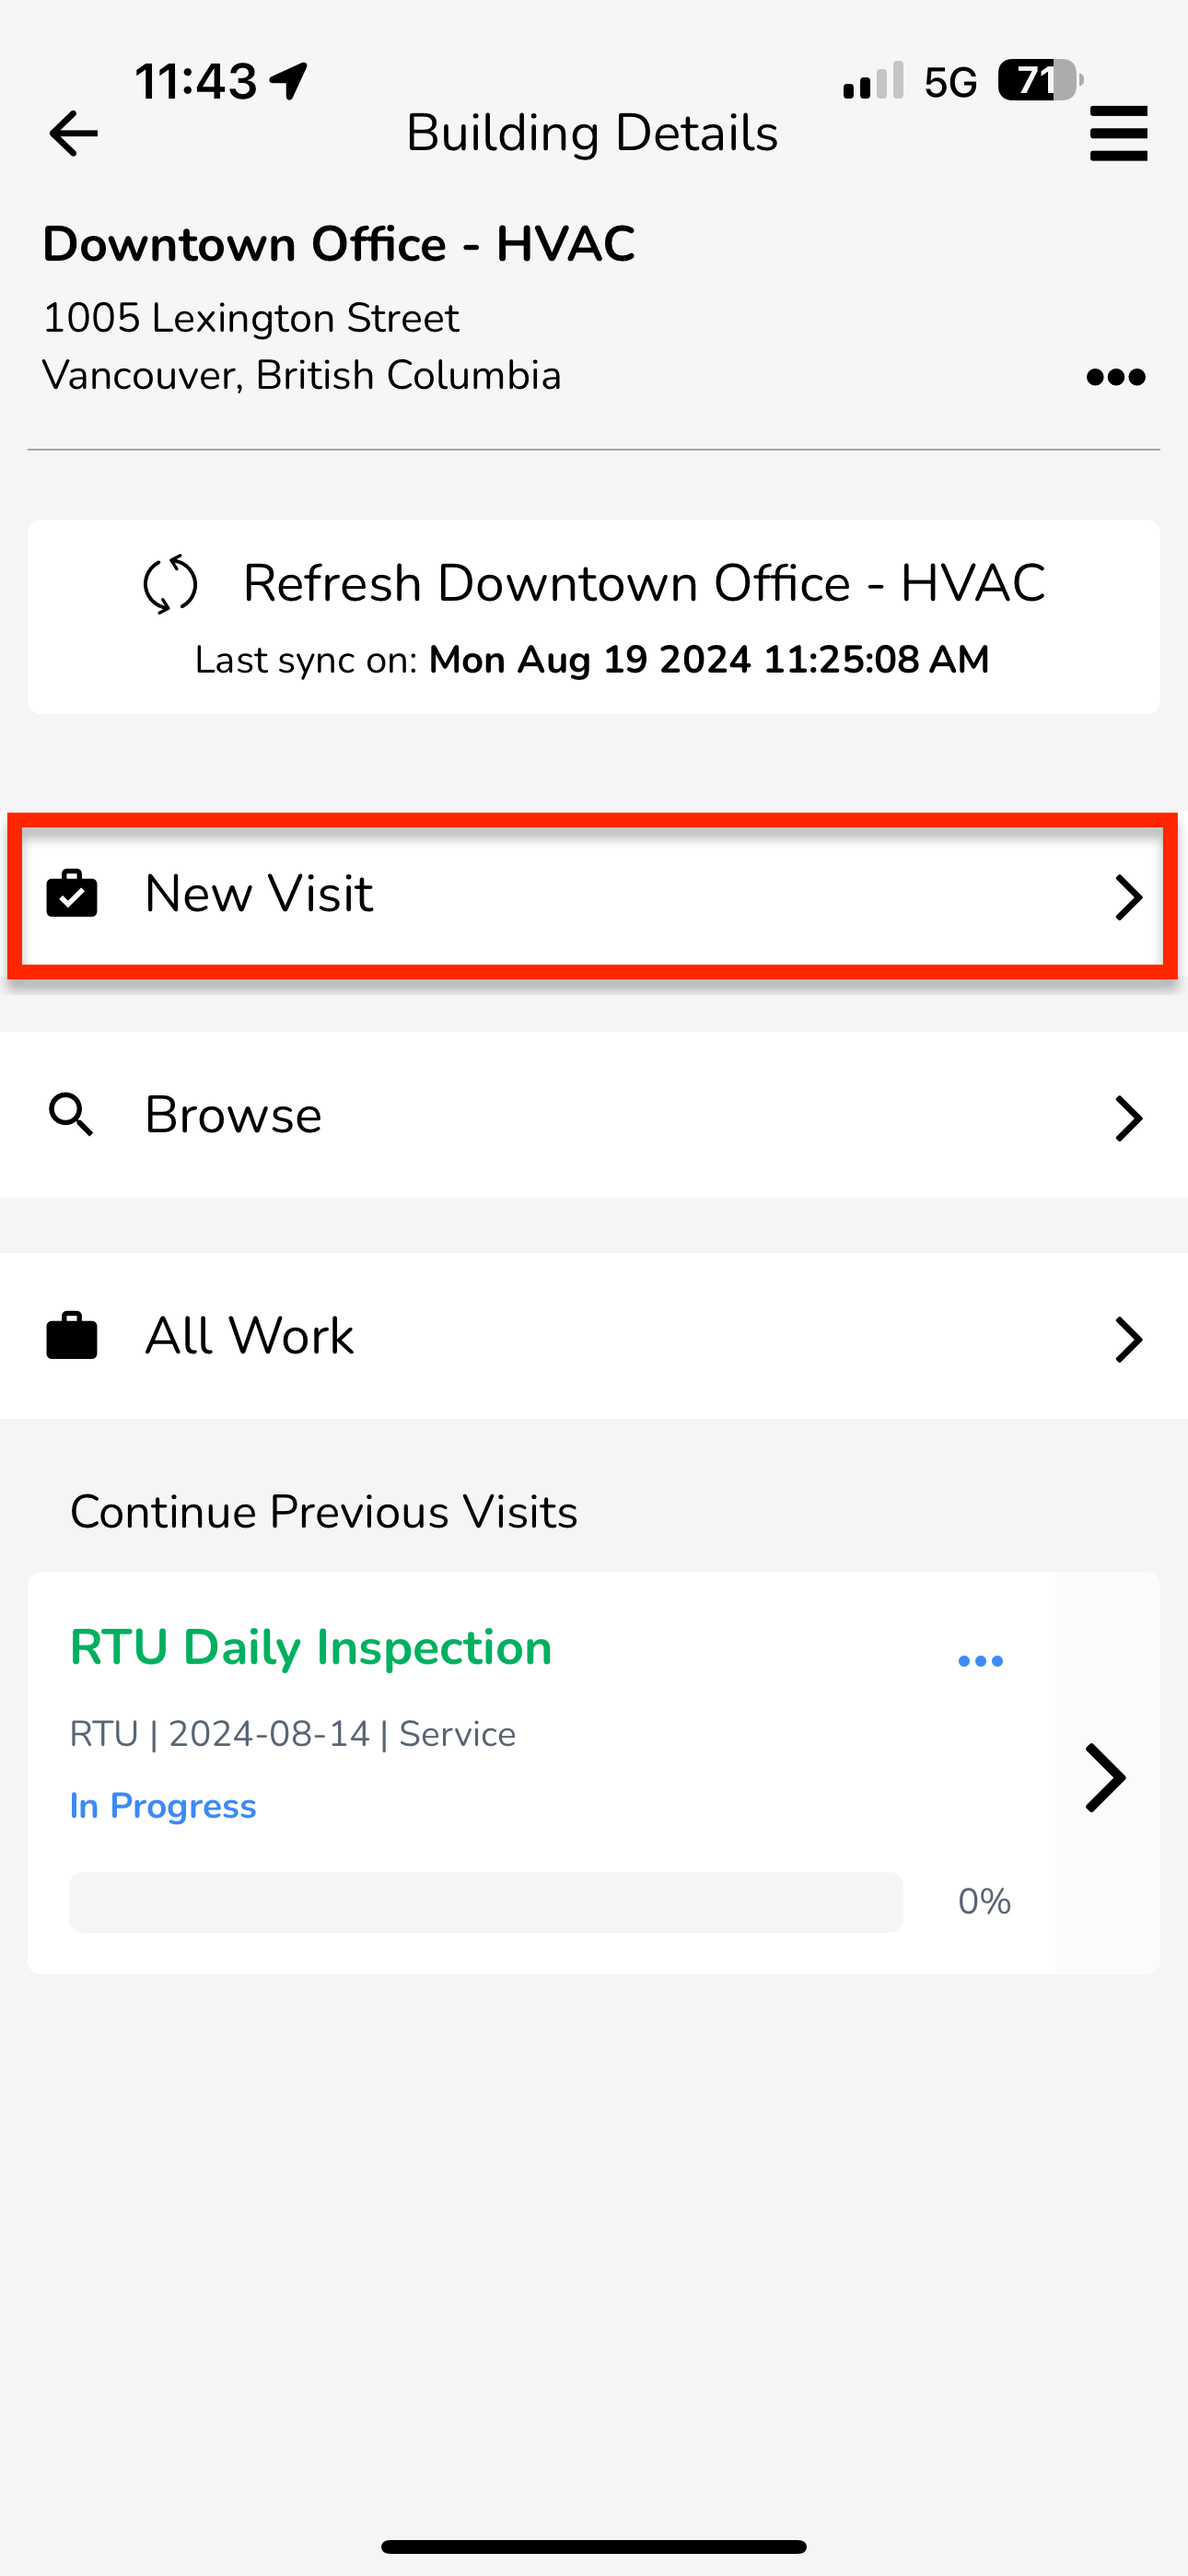
Select Explore Buildings
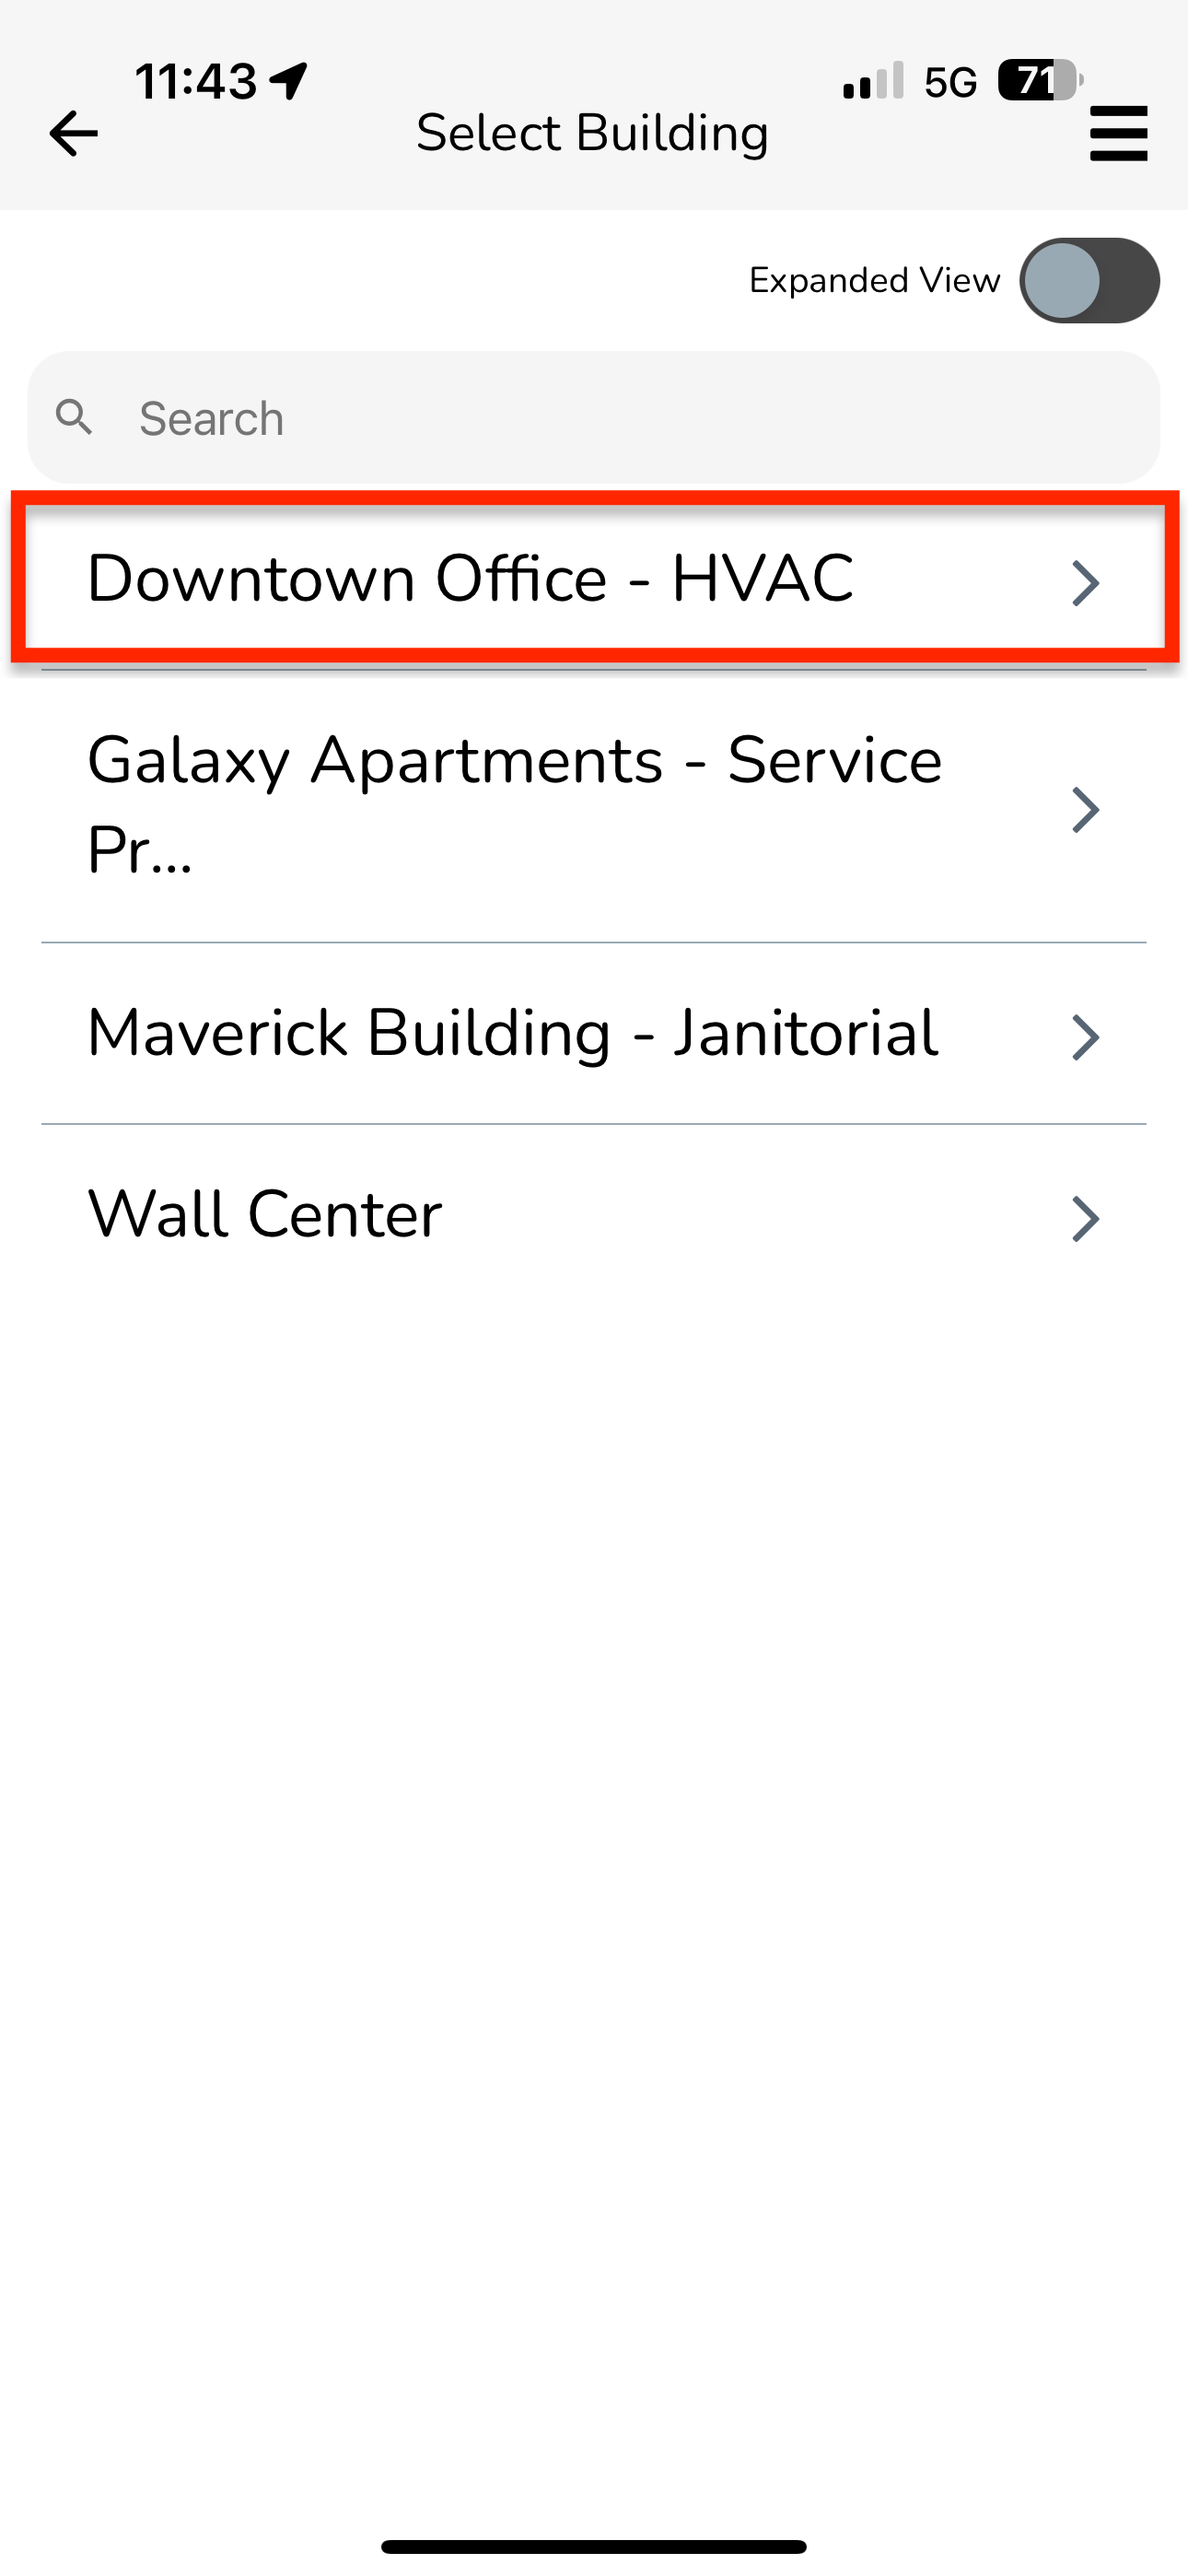
Select a Building
Select New Visit
Note:
When you create a New Visit on the Service Twin App, it also creates a new visit on All Work.
You will be presented with the following form:
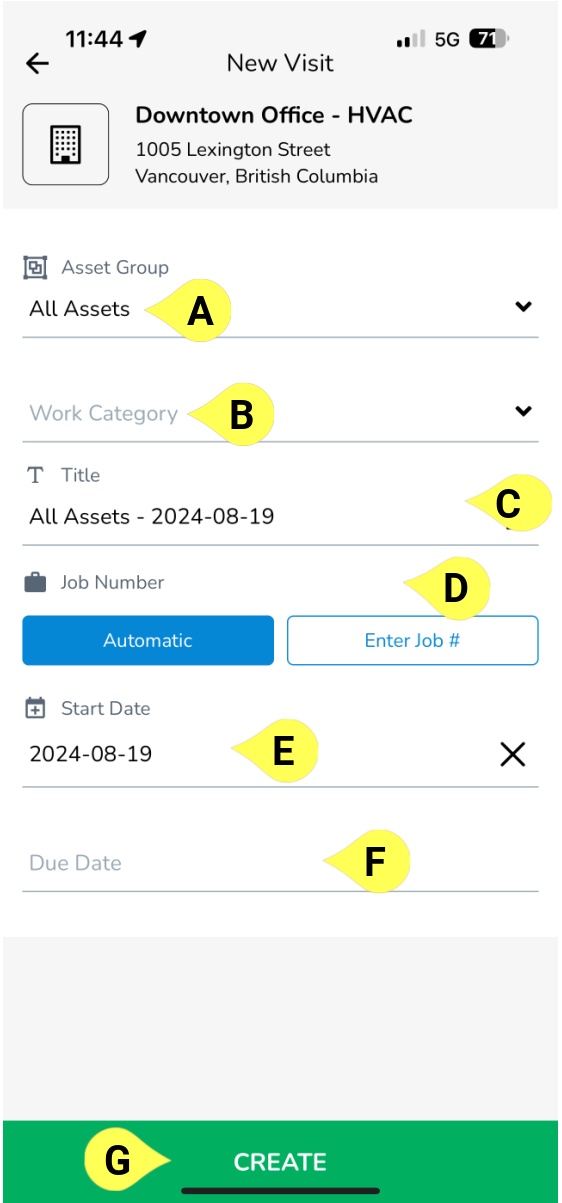
A - Asset Group
Choose the asset group you want to inspect during this visit. By default, the asset group "All Assets" is selected.
B - Work Category
Work categories are a list that's managed by your office administrator(s). This field indicates what type of work this visit will entail. This is an important field as it will determine what type of procedures are going to be available when performing inspections/doing work.
C - Title
The title of the visit. You can manually edit this field yourself but the default value is going to be a combination of ‘Work Category - Start Date'. If any of those fields are blank, they will be removed from the title accordingly.
D - Job Number
Type your own number or get the latest from the system by selecting the Automatic button. Assigning a job number to a visit will help to group together the work for billing purposes later.
E - Start Date
The start date of the visit.
F - Due Date
The due date of the visit.
G - CREATE button
Tap this button when you are satisfied with the fields above. It will create the visit and bring you straight into it.
After you tap CREATE, you will be taken into the Visit home screen where you can start going through your list of assets to inspect.
.jpeg)
A - Visit Information - all of the information about the visit will be accessible by clicking the three dots at the top. You can see what building you're in, the asset group that's to be inspected, the job number, the work category of the job, the start date and the due date of the visit. You can also add/edit the assigner users here.
B - (Change) Asset
By default, the app will choose the first asset that is most likely to be inspected. You can change the asset at any time by tapping anywhere on the white area of the asset selection card. As you inspect each asset in a visit, it will fall off the list (unless you specify otherwise by untapping the "Mark as Complete" checkbox on the inspection screen).
C - (Change) Procedure
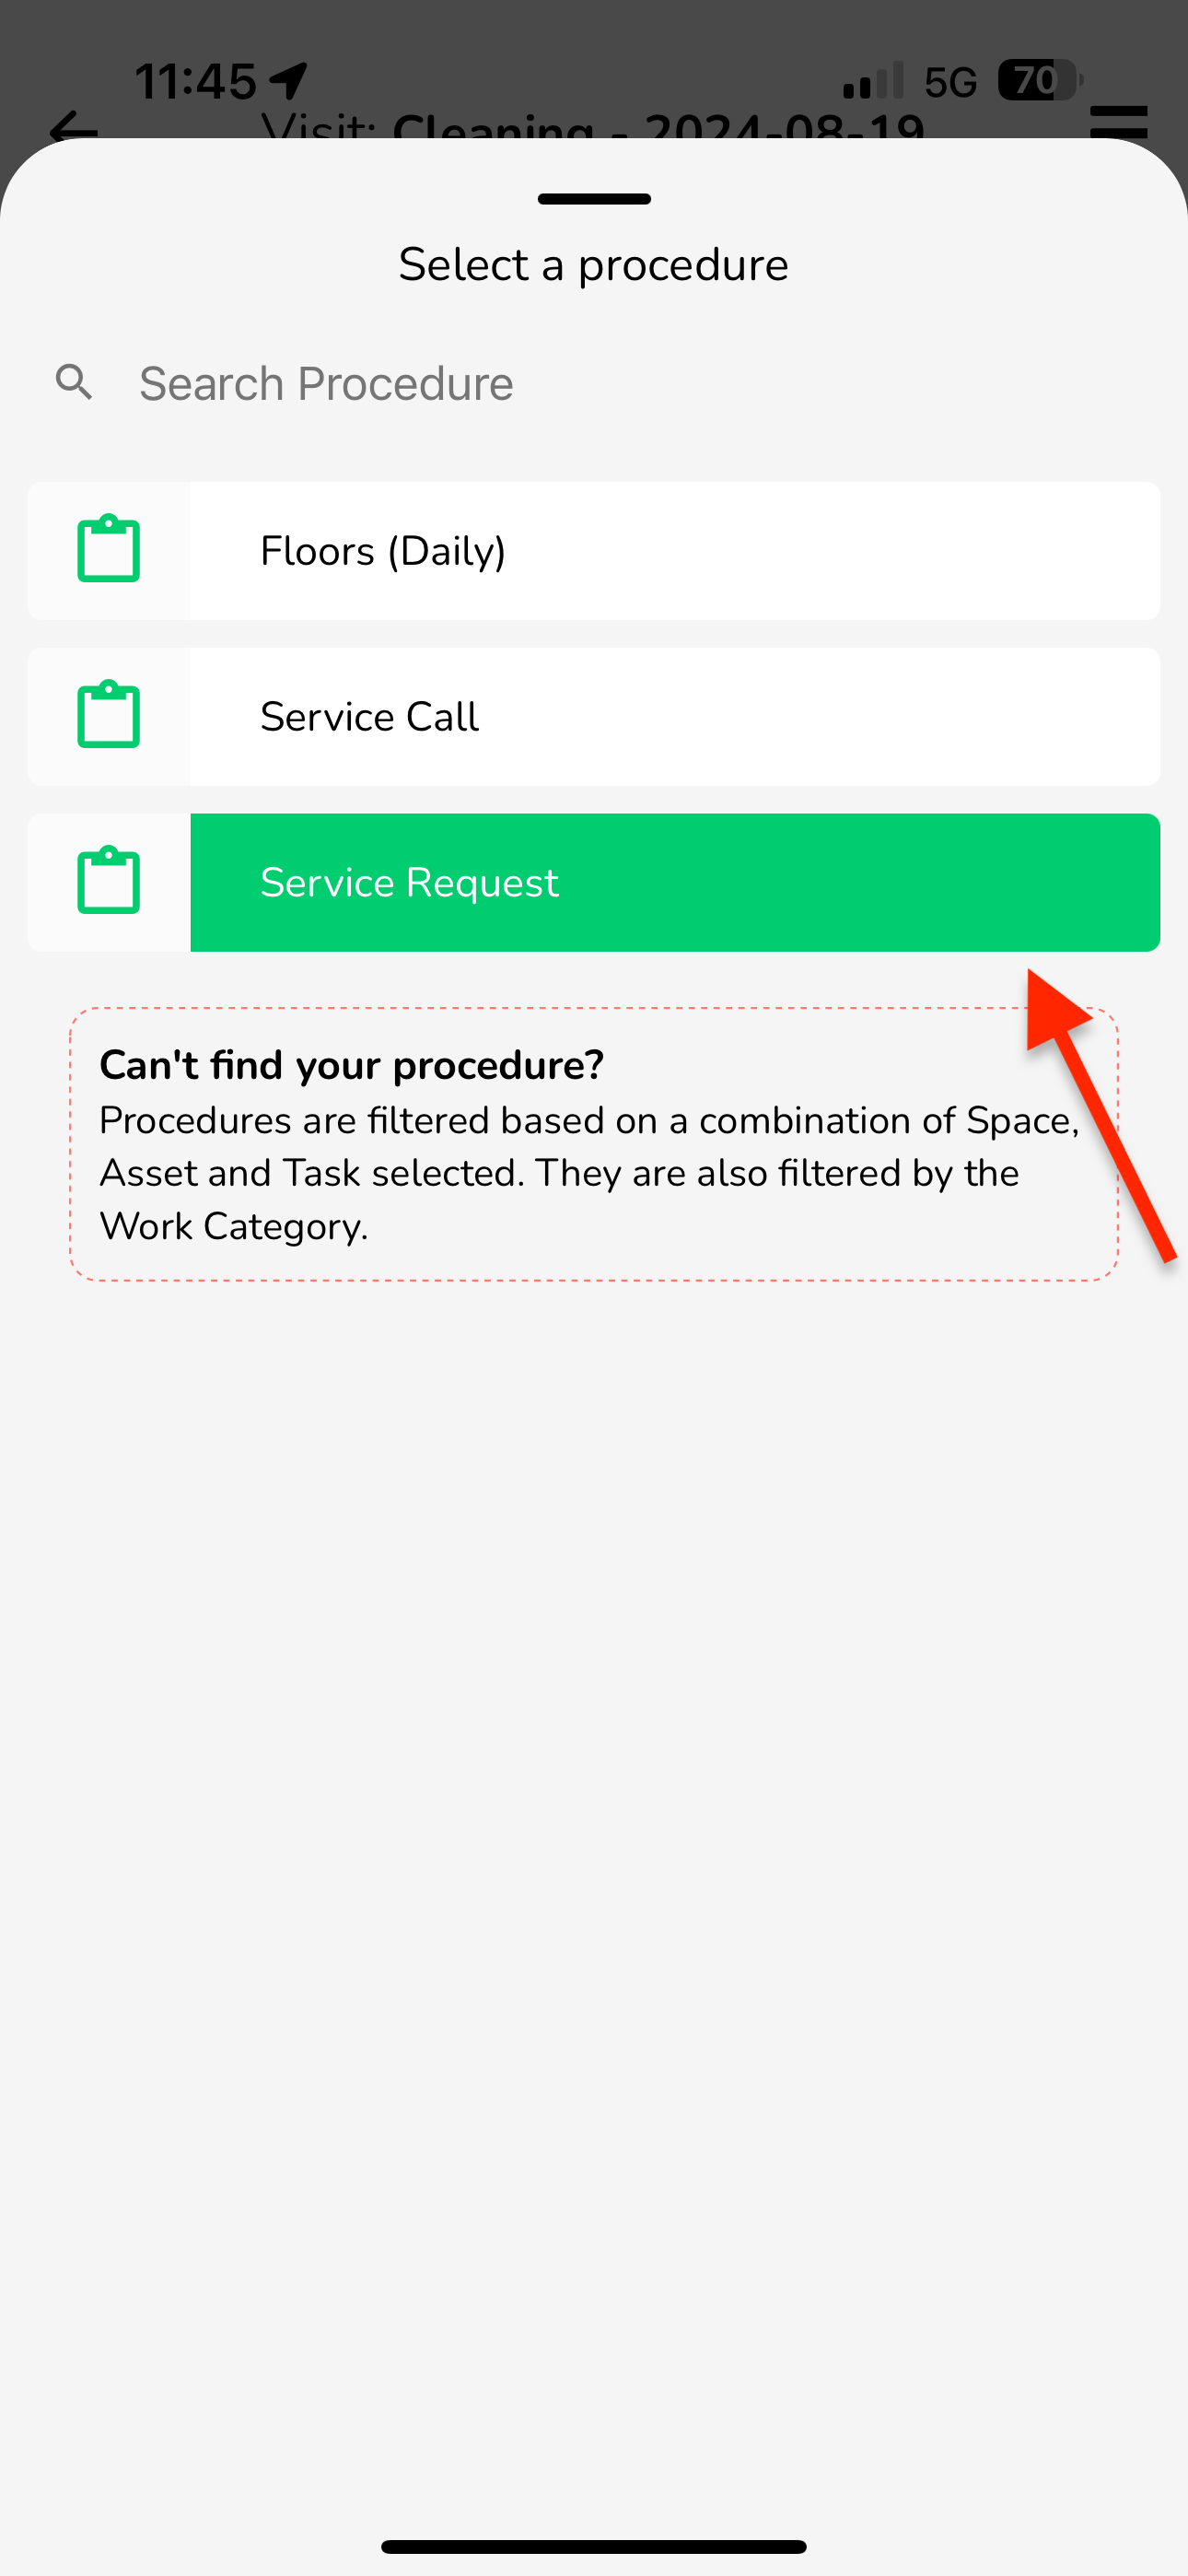
To change the procedure, simply tap the green procedure name, then select another procedure.
If you can't find the procedure you are looking for, it could be one of several reasons:
The procedure doesn't exist - contact your organization's administrator as Procedures can only be created by admins from the web app.
Procedures in BuiltSpace are filtered based on a combination of the Space, Asset and Task selected, as well as the Work Category of the job you're doing. It could be that the asset category is incorrectly entered and the system is unable to filter it properly.
It could be that the work category of the procedure is not correctly set. Contact your organization's administrator for help.


.PNG)
.PNG)
