- 17 Aug 2021
- 3 Minutes to read
- Print
- DarkLight
- PDF
Adding Materials
- Updated on 17 Aug 2021
- 3 Minutes to read
- Print
- DarkLight
- PDF
In the Service Twin app, you can add material items such as PO's, tools, truck stock, etc. into an inspection. The items that you have at your disposal come from a list that is managed by your office staff in the BuiltSpace web app.
This article will explain how you can add materials to your inspection, if enabled.
Adding Materials
In order to add materials, scroll to the bottom of the inspection you're on and you should see a button labeled Add Materials.
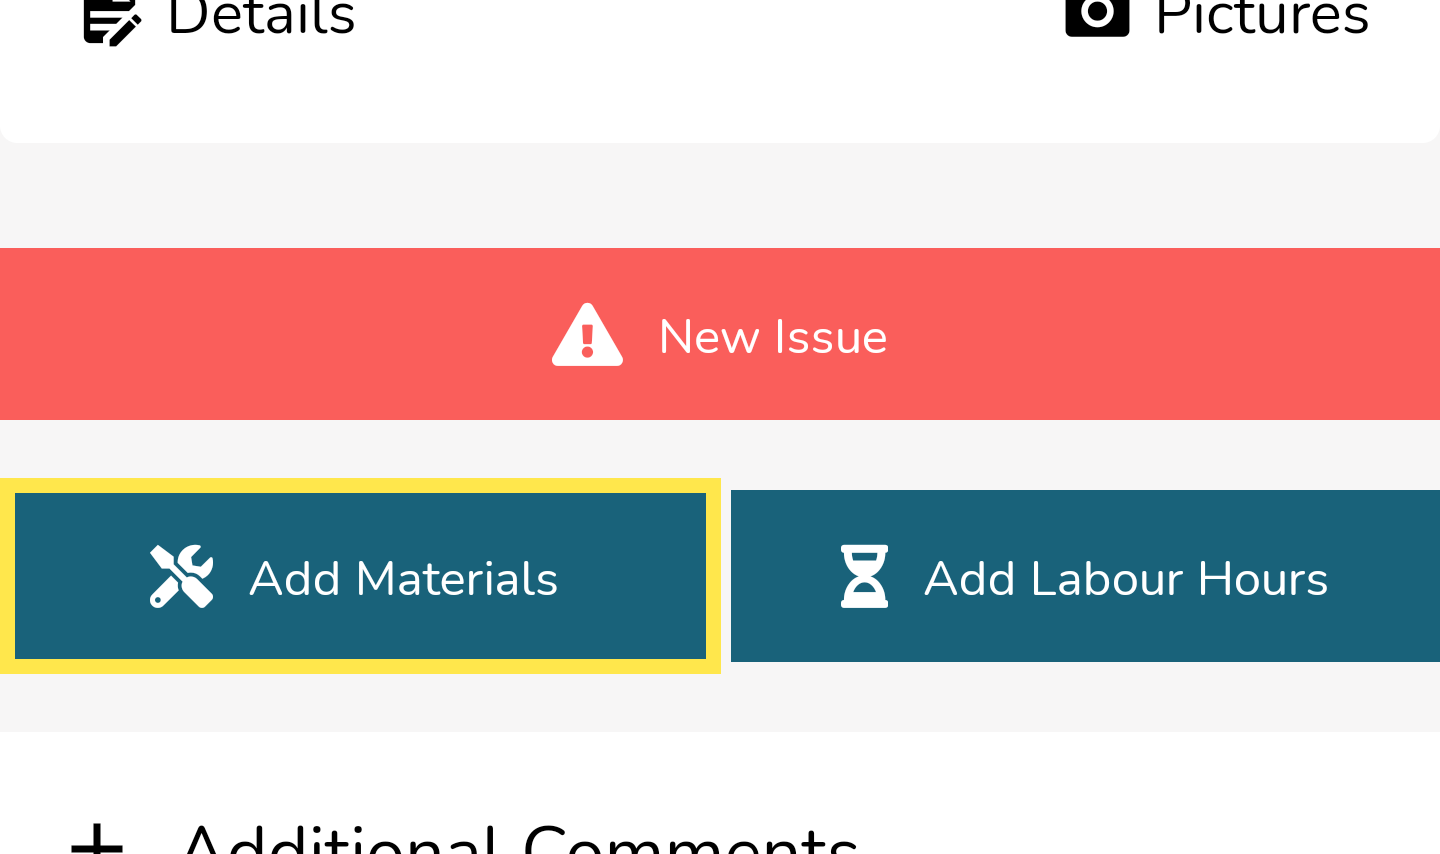
Tap this button and you'll be taken to the Materials screen. This screen will show all the materials that have been added to this inspection. Each material item will be displayed in a card-style format.
By default, each organization will have these types to choose from:
- PO
- Tools
- Truck Stock
- 3rd Party
- Other
We will go through each one below in more detail.
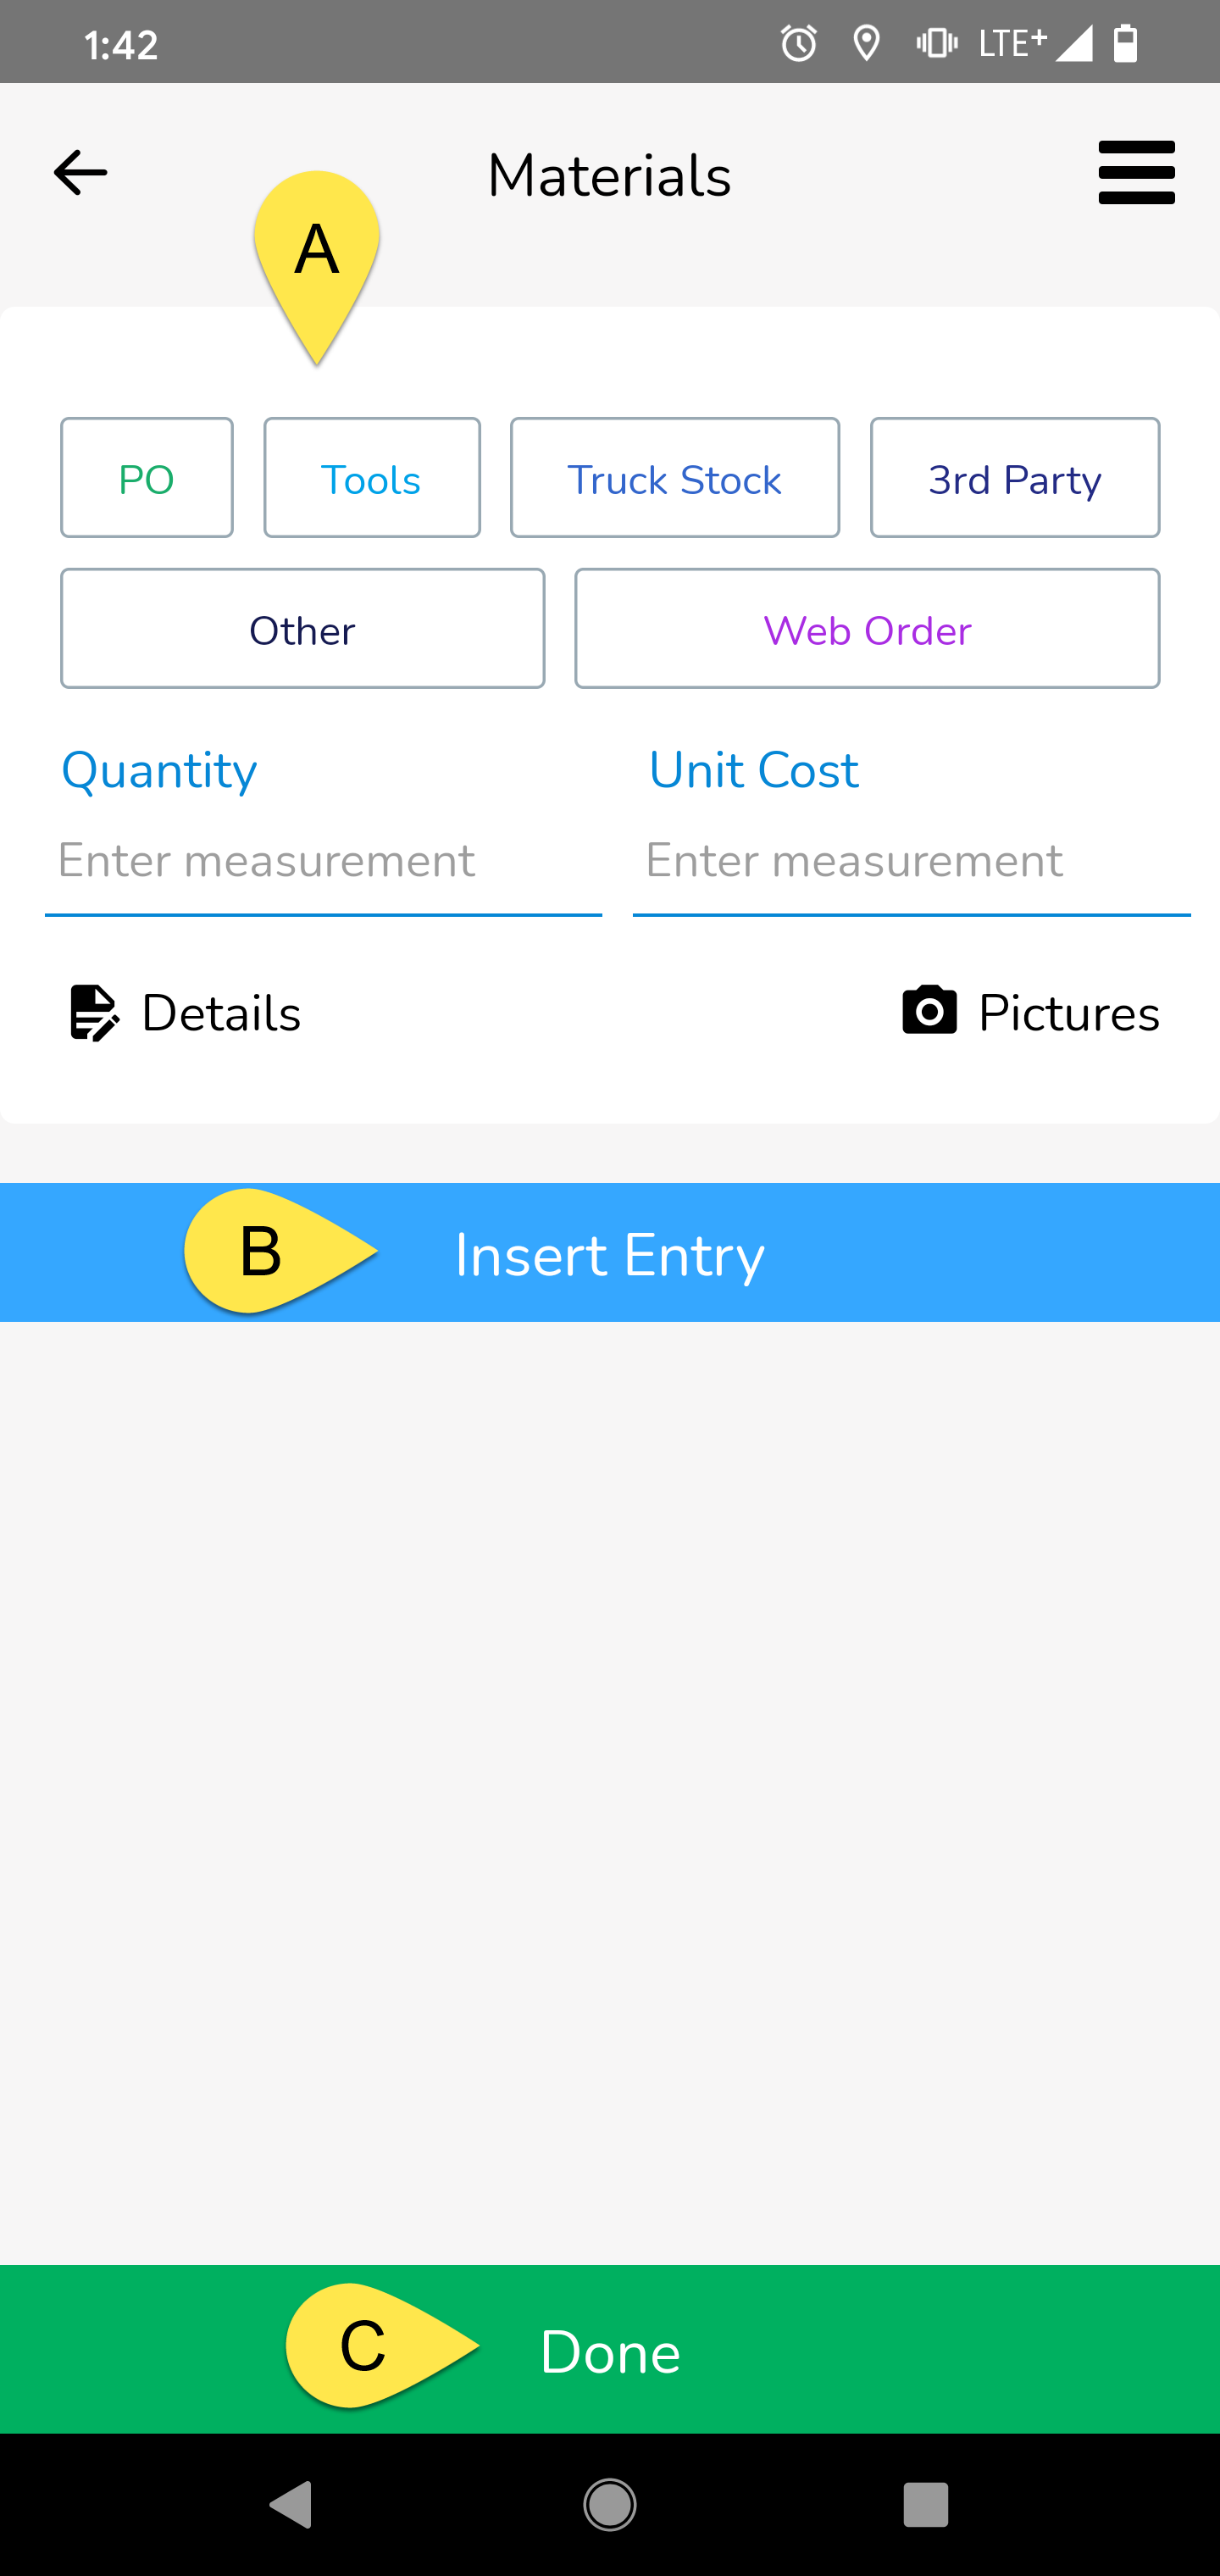
A - Material Card
Select what type of material you are adding and fill out the Quantity & Unit Cost. You may also add further Details + Pictures to support the materials you are adding.
B - Insert Entry
Tap this button to add another material card/entry.
C - Done
Tap this button when you are finished adding all of the materials you wanted to add. This will take you back to the inspections screen.
PO
Purchase Orders are one of the default and special material types that you can add to your inspection. By selecting PO, you have the ability to further select a Supplier as well (from a list of suppliers managed by your office).
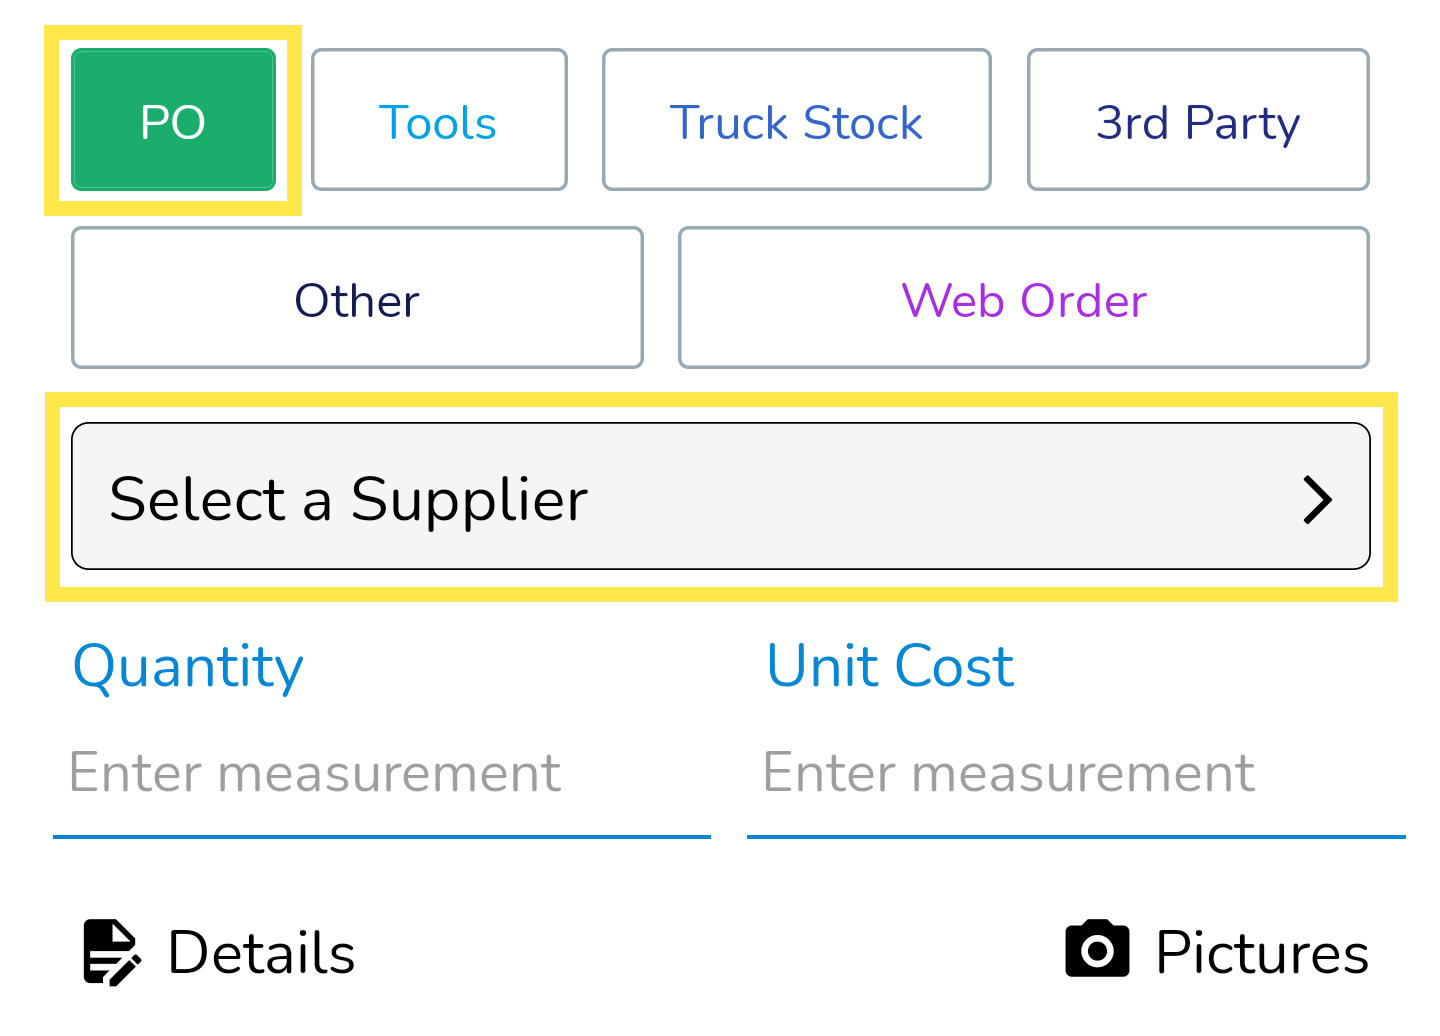
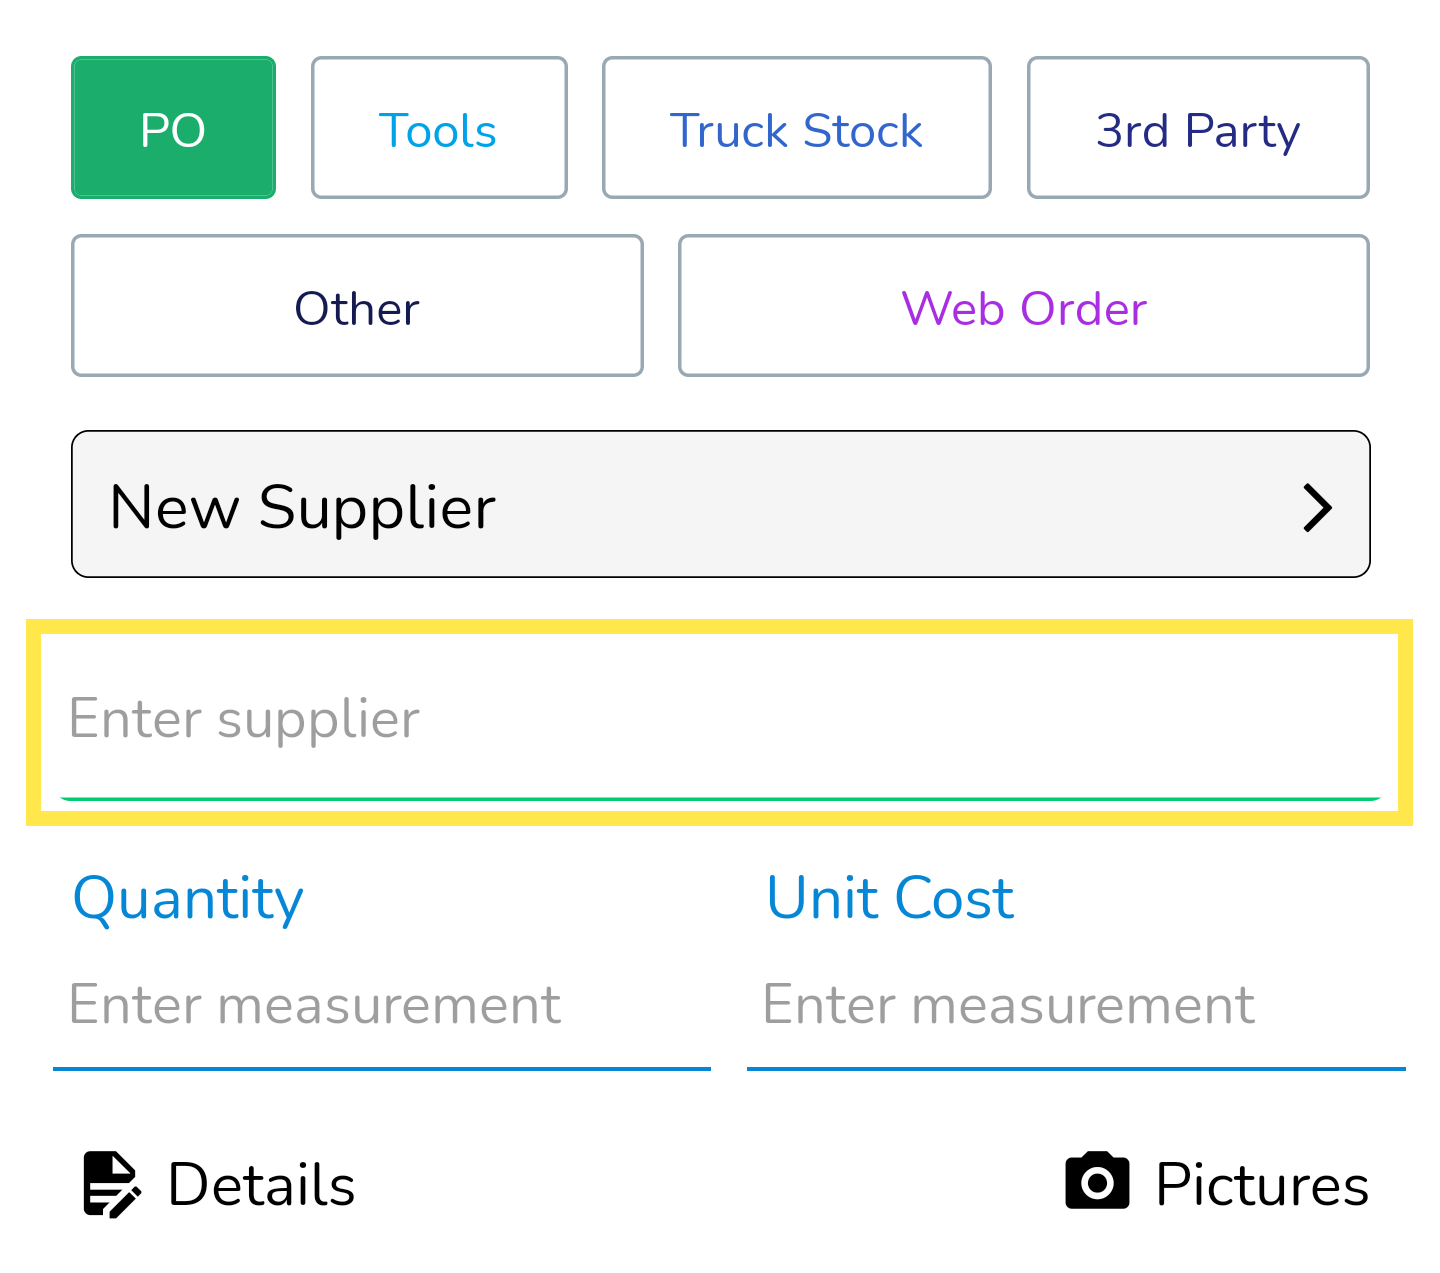
Tap Select a Supplier to launch the suppliers list. Choose a supplier from this list, or create a New Supplier.
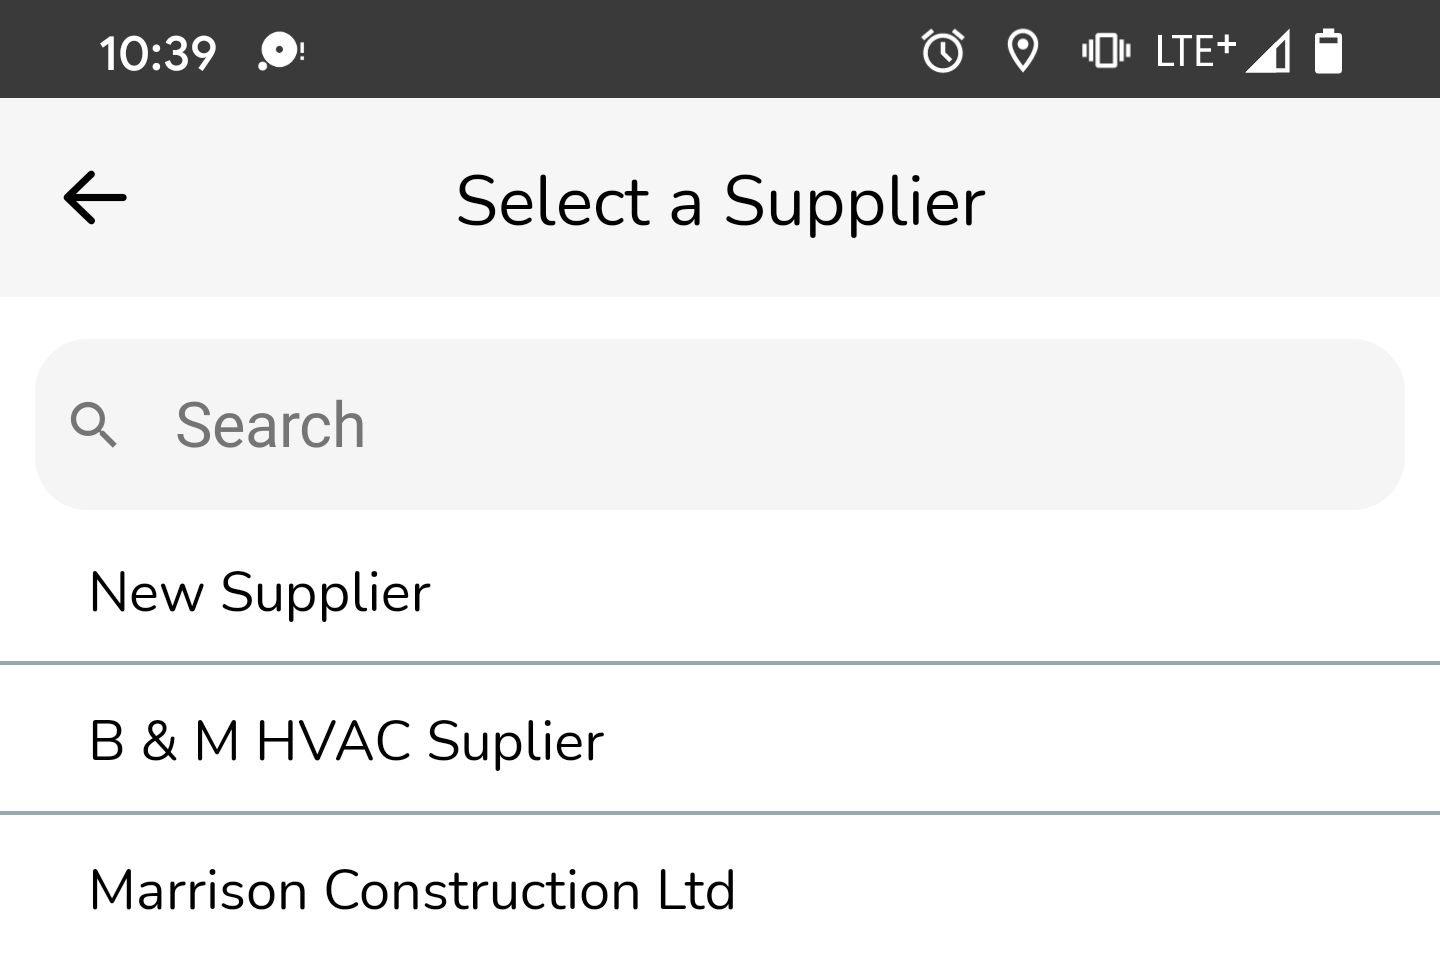
New Supplier
If you select New Supplier, you will get to enter the name of the supplier before you enter any additional information about the PO.
Tools
Tools are one of the default and special material types that you can add to your inspection. By selecting Tools, you have the ability to further select a predefined Tool from a list of tools managed by your office.
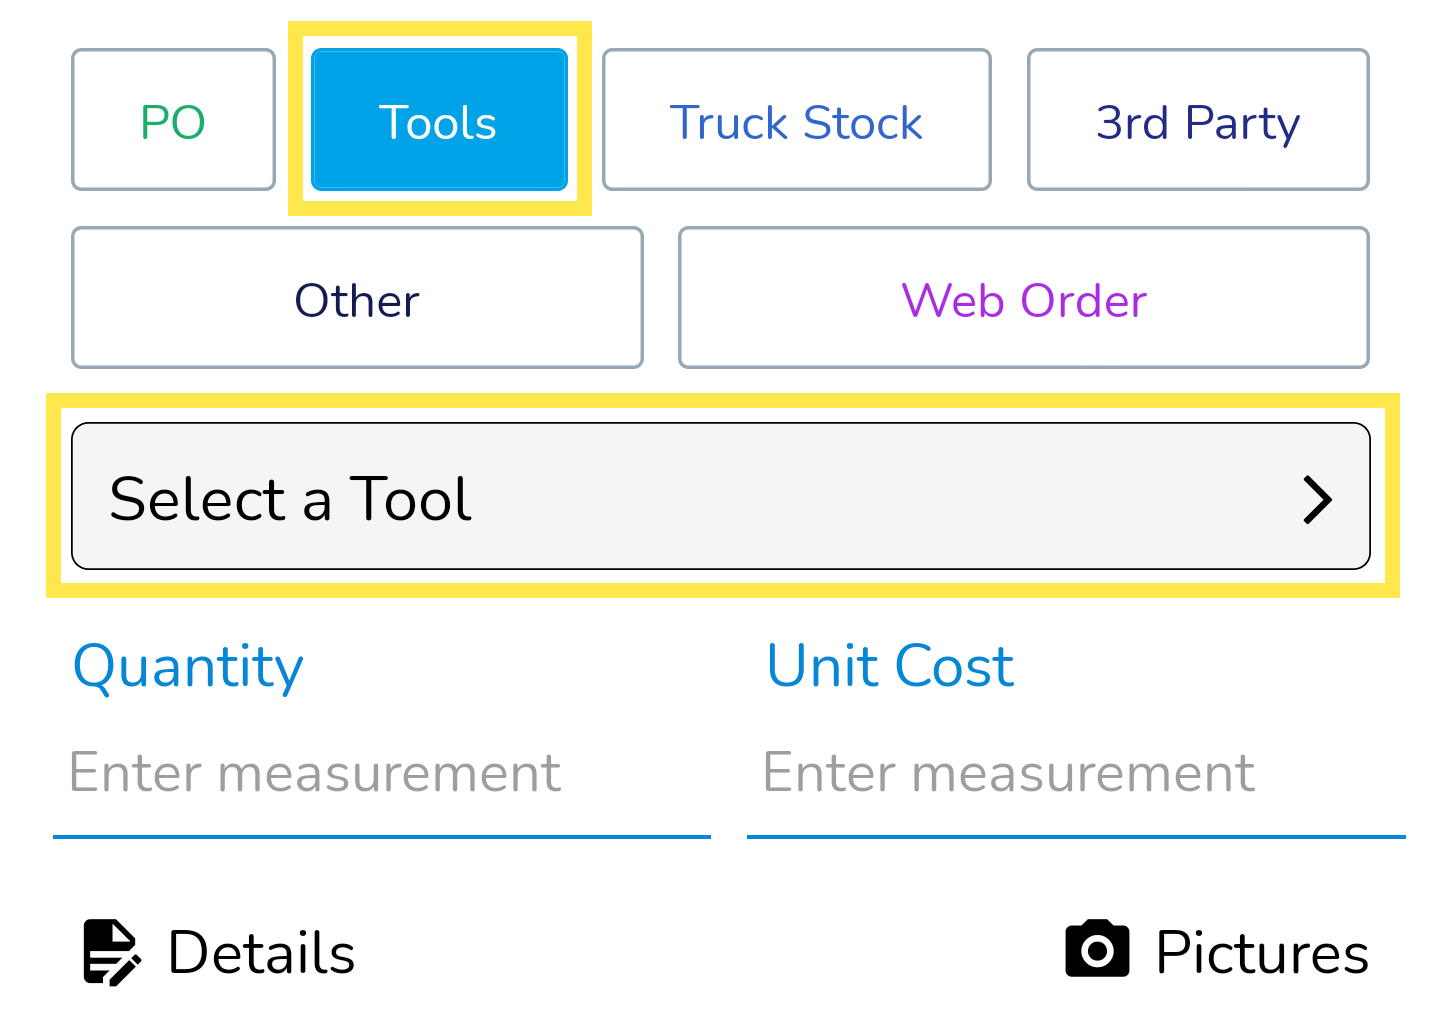
Tap Select a Tool to launch the tools list. Choose a tool from this list.
Unlike Suppliers, you cannot add new Tools from here. Only your office administrators can do this from the BuiltSpace web app. Use the "Other" option if you need to add something that is not already predefined in your list of tools.
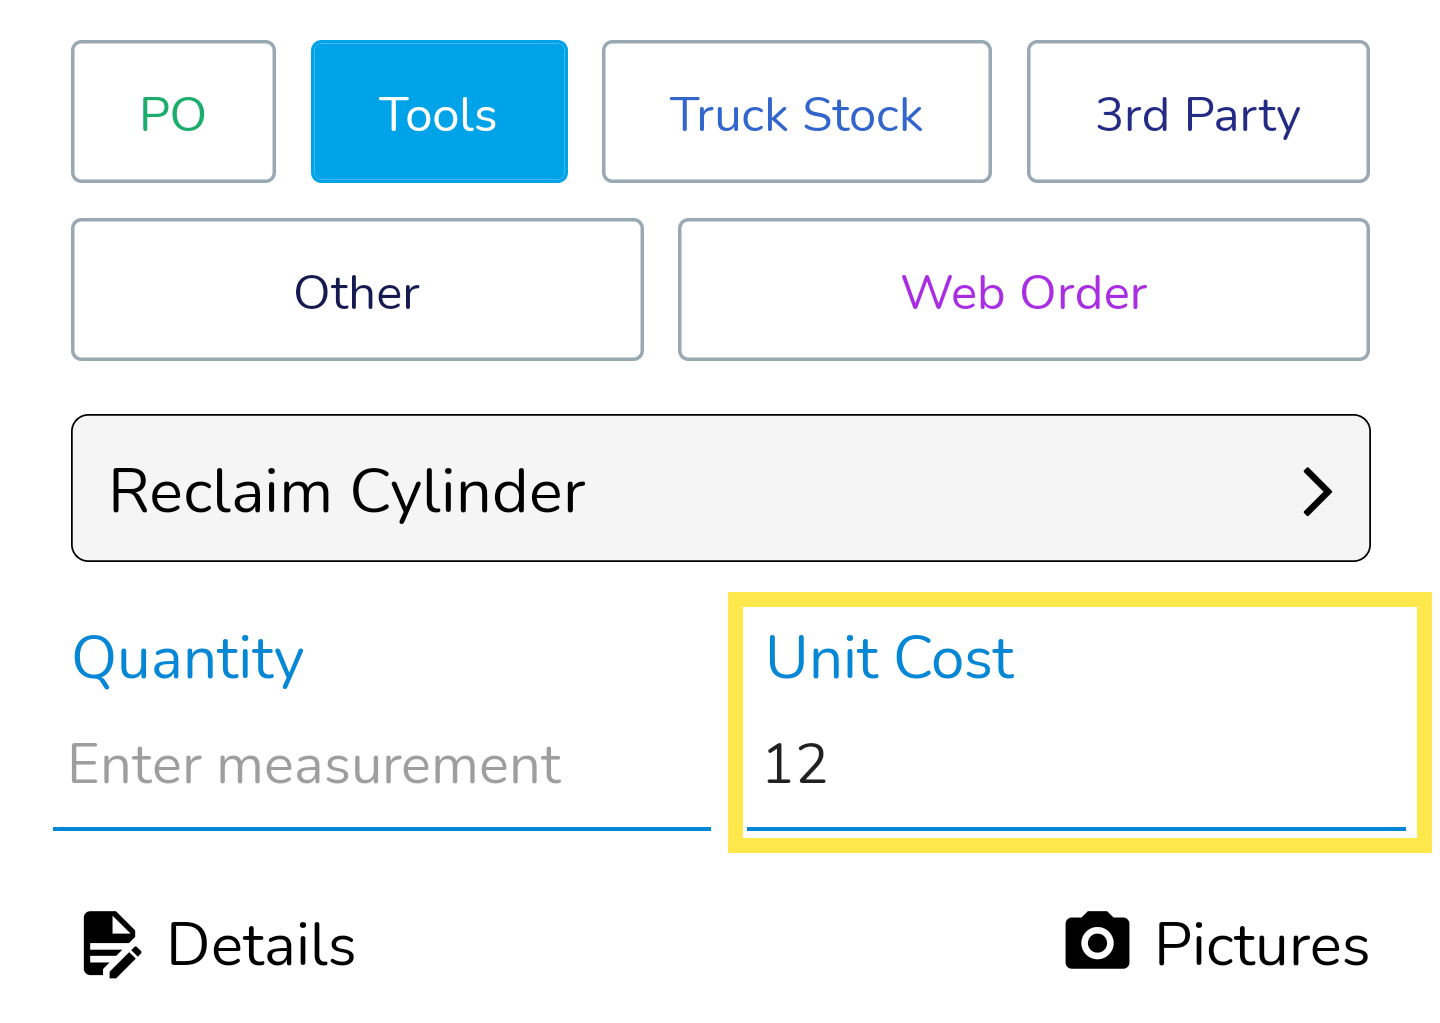
Each tool will come with a predetermined Unit Cost. For example, we chose Reclaim Cylinder and it automatically came with a $12.00 cost as you can see in the screenshot below. Simply add a Quantity and you're good to go.
Custom Material Types
Every organization may see a different set of customized material types. These are all based on what your office administrators have set up inside BuiltSpace. The most common and out-of-the-box material types you'll see are Truck Stock, 3rd-Party and Other. The way to add these in the app is the same, so we will use this section to teach you how to add these types of materials regardless of what they are called.
Example:
In this example we are going to add an item from our Truck Stock. In order to do this, we would need to take the following steps:.png)
- Select the Truck Stock option
- Type in a Quantity (in this example, 52 because we are going to be using 52 lbs of the item)
- Type in a Unit Cost (in this example, $27.45 per unit of quantity)
- Tap the Details button and enter a description of the item (in this example, 52 lbs r407c)
- Add some pictures if you want by tapping on the Pictures button.


