Managing your Material Types
- 09 May 2023
- 1 Minute to read
- Print
- DarkLight
- PDF
Managing your Material Types
- Updated on 09 May 2023
- 1 Minute to read
- Print
- DarkLight
- PDF
Article summary
Did you find this summary helpful?
Thank you for your feedback!
This article will teach you how to manage the Material Types.
By default, your Organization comes with the following types but these can be edited, or new ones created: PO, Tools, Truck Stock, 3rd Party, or Other.
Creating New Material Types
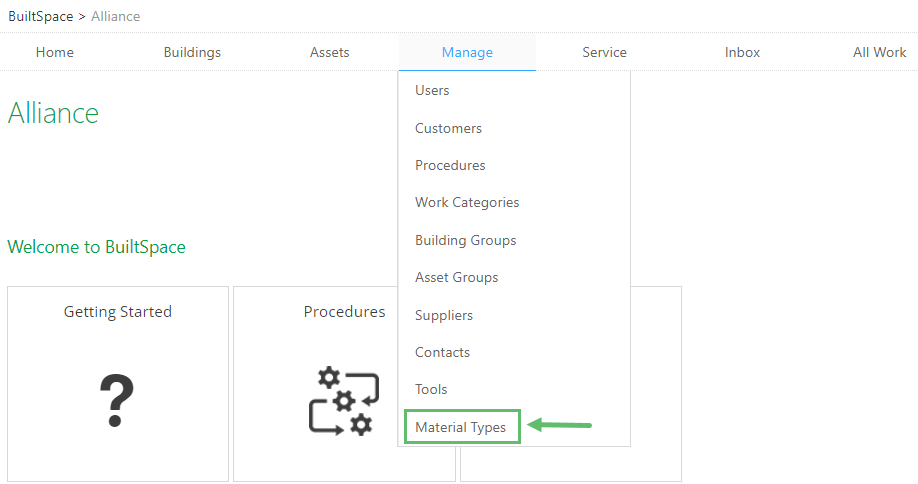
1. Hover over the Manage tab and click on Material Types.
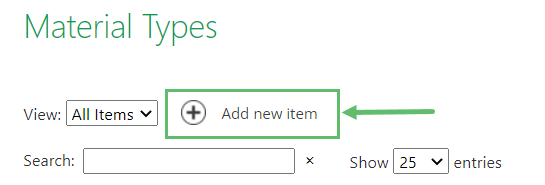
2. To add a new Material Type, click on + Add new item.
3. Fill out the form presented to you and click on Save when done. Red asterisks (*) denote required fields. Each field is explained in more detail below.
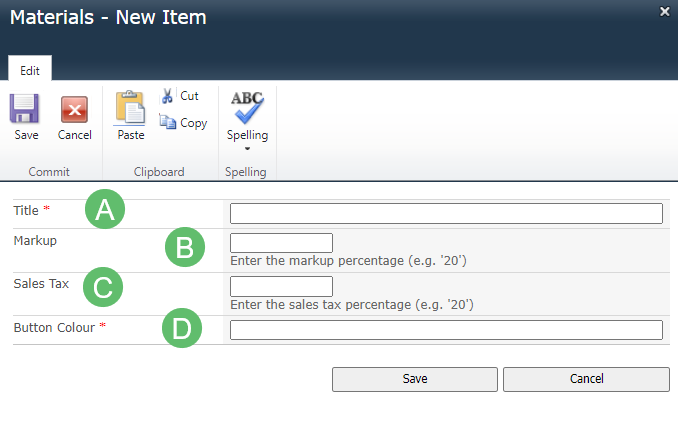
A - Title
Enter the Title for the Material Types.
B - Markup
Enter the Markup percentage (e.g. '20').
For example, a technical bought a motor for $100. The markup is 20%. The invoice will show $120 to the client.
C - Sales Tax
Enter the Sales Tax percentage (e.g. 5%).
For example, the sales tax will be calculated on the final invoice amount. It means 5% will be calculated on $120 which is $6. It will be shown separately as a line item.
D - Button Colour
Button Colour will allow you to set the button colour. Simply google "hex colour picket" and choose a colour. Copy the 6-character code and paste it into this field.
For example, for the blue colour, the code is #3483eb.
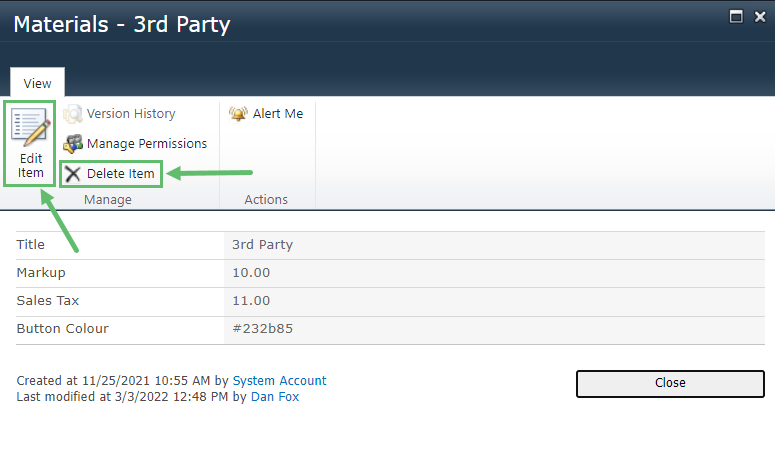
Editing or deleting the default Material Types
Note:
It is recommended not to delete the PO and Tools materials, as they are connected to other features.
1. To edit or delete the Material Types, click the Material Type under Title.
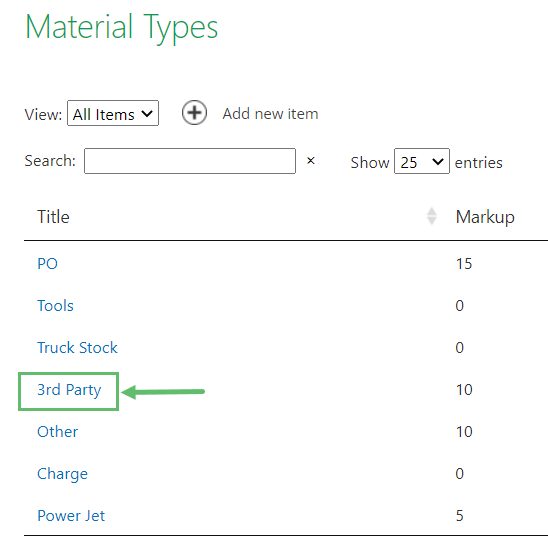
2. From the next screen you can choose to either Edit or Delete the item.
Was this article helpful?