How to create a new Procedure (Video Walkthrough)
- 11 Jun 2024
- 2 Minutes to read
- Print
- DarkLight
- PDF
How to create a new Procedure (Video Walkthrough)
- Updated on 11 Jun 2024
- 2 Minutes to read
- Print
- DarkLight
- PDF
Article summary
Did you find this summary helpful?
Thank you for your feedback!
Service suppliers normally work by completing standardized Procedures on equipment (or spaces), and we call these completed procedures Inspections. This article will teach you how to create Procedures and add Questions to it.
Creating a Procedure
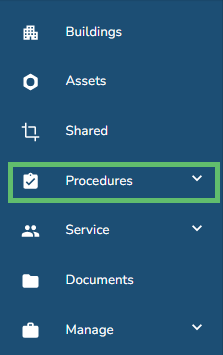
1. The Procedures page can be accessed from the left navigation menu.
2. From the Procedures page, click on the + Create Procedure button in the top-right.

3. Fill out the form presented to you. Each field is explained in more detail below.
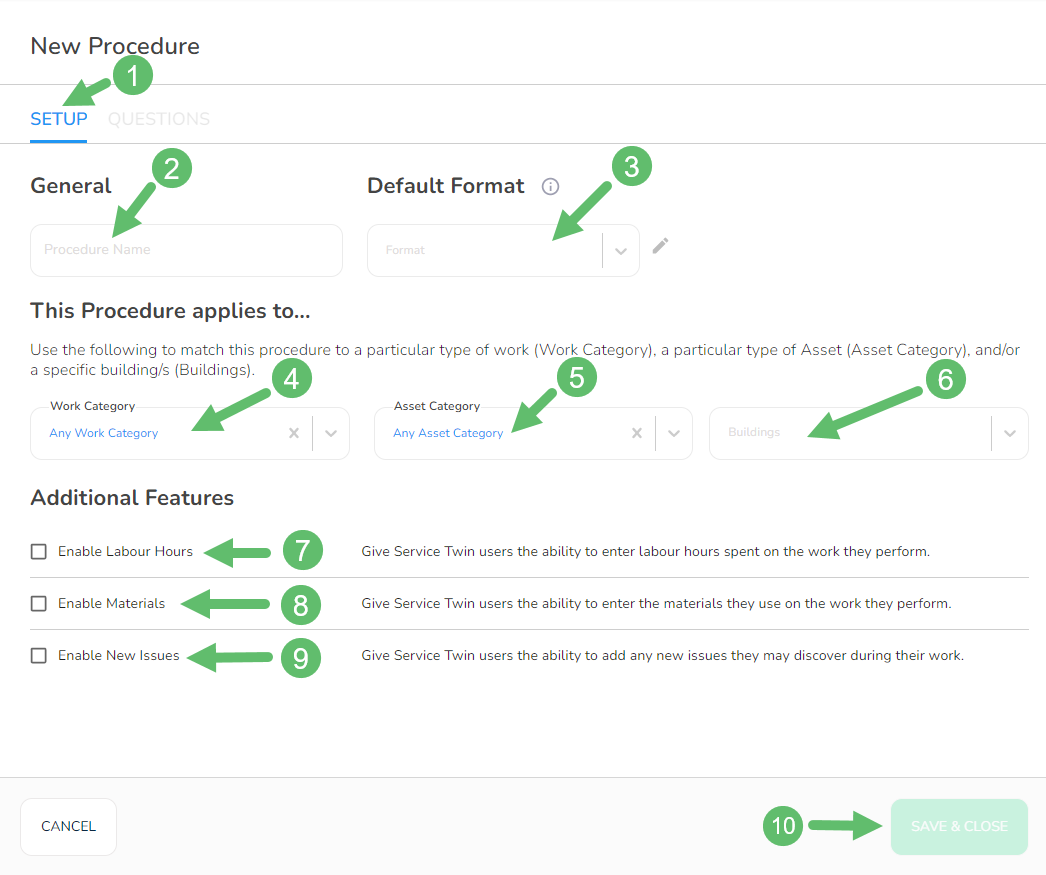
1. Main tabs - navigate between the Setup and Questions tabs. To set up the main pieces of information about the procedure you're creating, make sure you are on the Setup tab.
2. Procedure Name - enter the Procedure Name for the Procedure.
3. Default Format - procedures have questions and questions have different types of response types. If the response type on a question = 'Choice', then you must determine what those choices will be. The 'Default Format' field here lets you set the default set of choices (i.e. buttons) that your tech will see when presented with a question.
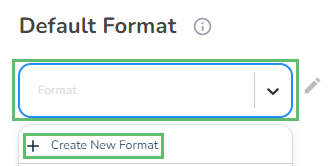
You can type a custom choice format or select from one of the pre-filled formats. These formats are reusable across your organization.
To create a new format, click on + Create New Format from the dropdown.
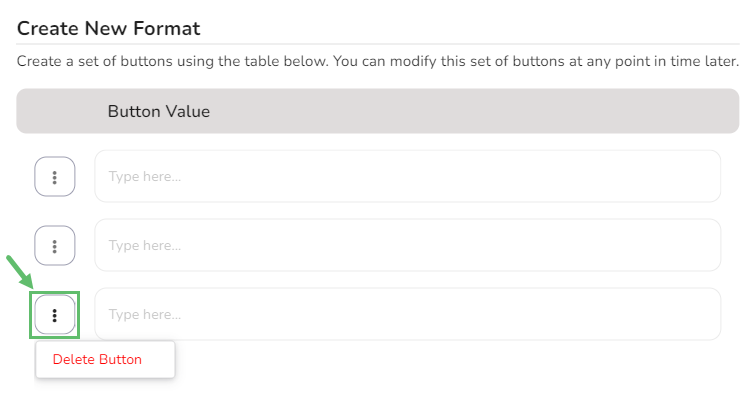
Use the table presented to you to add your list of choices. Click on Save on the bottom corner right when done.
For example: Good, Fair, and Poor will create a format of 3 choices (i.e. buttons).
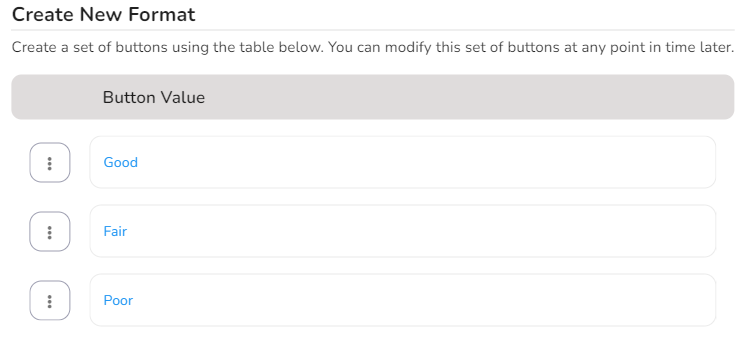
To remove a Button Value, click on the 3 dots next to the value and hit 'Delete Button'.
'This Procedure applies to...' section
4. Work Category - use this field to match the procedure to a particular type of work. This field is optional and if you leave it blank, the procedure you're creating will be available for all types of work. If however, you select a value, then this Procedure will only be shown when a technician is completing work of this particular type.
The default Work Categories are PM Major, PM Minor, and Service but these can be customized and new ones added from the Work Categories section.
For example: if you choose 'Service' here, then your procedure will only be available to technicians who are working on a job that also has 'Service' selected as its work category.
5. Asset Category - Asset Categories are a pre-defined list of categories that you can choose from when you create an Asset. Use this field to match a Procedure to a particular type of asset. What does this mean?
For example: if you choose 'Roof-Top Unit' here, then your procedure will only be available to technicians who have a roof-top unit selected in the app.
Note!
It is important to properly and accurately categorize your Assets upon initial set-up.
6. Buildings - this field will ensure that your Procedure only shows up for technicians when they start an Inspection in the assigned building.
7. Enable Labour Hours - if this is checked, it will allow a technician to enter labour hours spent on the job using the Service Twin® app.
8. Enable Materials - if this is checked, it will allow a technician to add Materials used to complete a Job.
9. Enable New Issues - if this is checked, it will allow a technician to add any additional Issues they may face during an Inspection.
The fields above complete the 'Setup' tab. The next section explains how to add questions to your procedure.
10. Save & Close - use this button to save & close the form. Return to it any time to edit any information.
Was this article helpful?