Attachments on Assets
- 17 Mar 2023
- 1 Minute to read
- Print
- DarkLight
- PDF
Attachments on Assets
- Updated on 17 Mar 2023
- 1 Minute to read
- Print
- DarkLight
- PDF
Article summary
Did you find this summary helpful?
Thank you for your feedback!
This article will teach you how to add an attachment to an Asset in your Org.
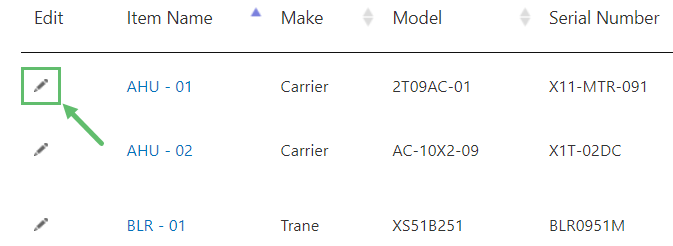
1. From the top navigation bar, click on Assets.

2. Click on the Pencil icon under the Edit column of the desired Asset.
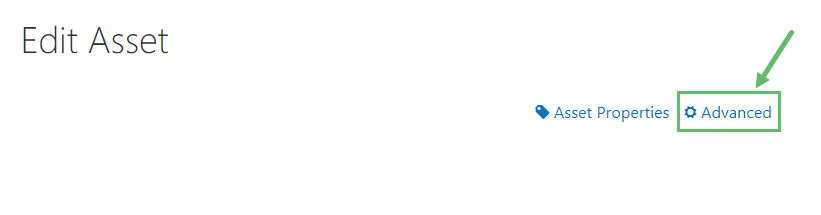
3. Click on Advanced at the top right. Click on "OK" when a message appears.
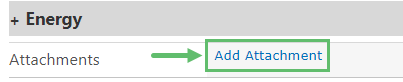
4. Scroll down until you see the Attachments heading. Click on Add Attachment.
5. Click on Choose File and select the file to be uploaded. Click on Upload when done. The page will automatically refresh and your file will appear.
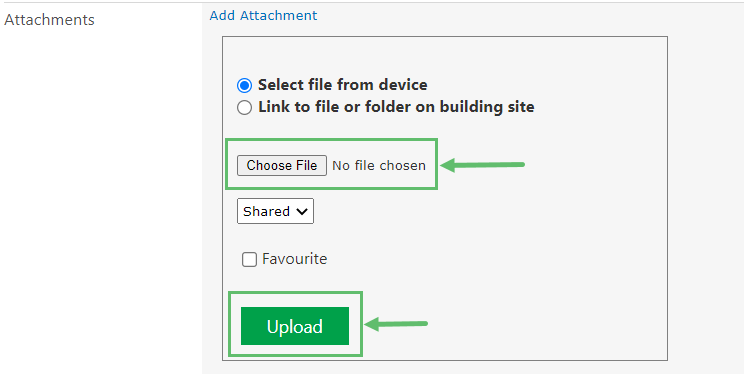
6. Click on Save.
Managing the Sharing Settings of an Attachment
7. After you have selected the attachment, you have the option to manage it as Private, Shared or Public.
A - Private
It only allows the members of the Organization to view the Attachments.
B - Shared
It allows all building members (Users who are signed in from all the Organization), plus Users who were invited directly to the Building to view the Attachments.
C - Public
It allows an Anonymous User to view the Attachments as a Public link after scanning the QR Code.
D - Favourite
Checking Attachments as Favourite will let you view them without opening. You can also view them using the Service Twin® App by clicking on View More Info (Online) under Asset Information.
Was this article helpful?