- 07 Feb 2025
- 2 Minutes to read
- Print
- DarkLight
- PDF
How to add a new Building
- Updated on 07 Feb 2025
- 2 Minutes to read
- Print
- DarkLight
- PDF
How to add a Building to your Organization
This guide provides a step-by-step walkthrough for adding a new building to your organization in the BuiltSpace platform. By following these steps, you can ensure that all relevant details about each building are accurately recorded and efficiently managed.
There are two ways to add buildings: through the Buildings Page or the Assets Page.
Buildings Page
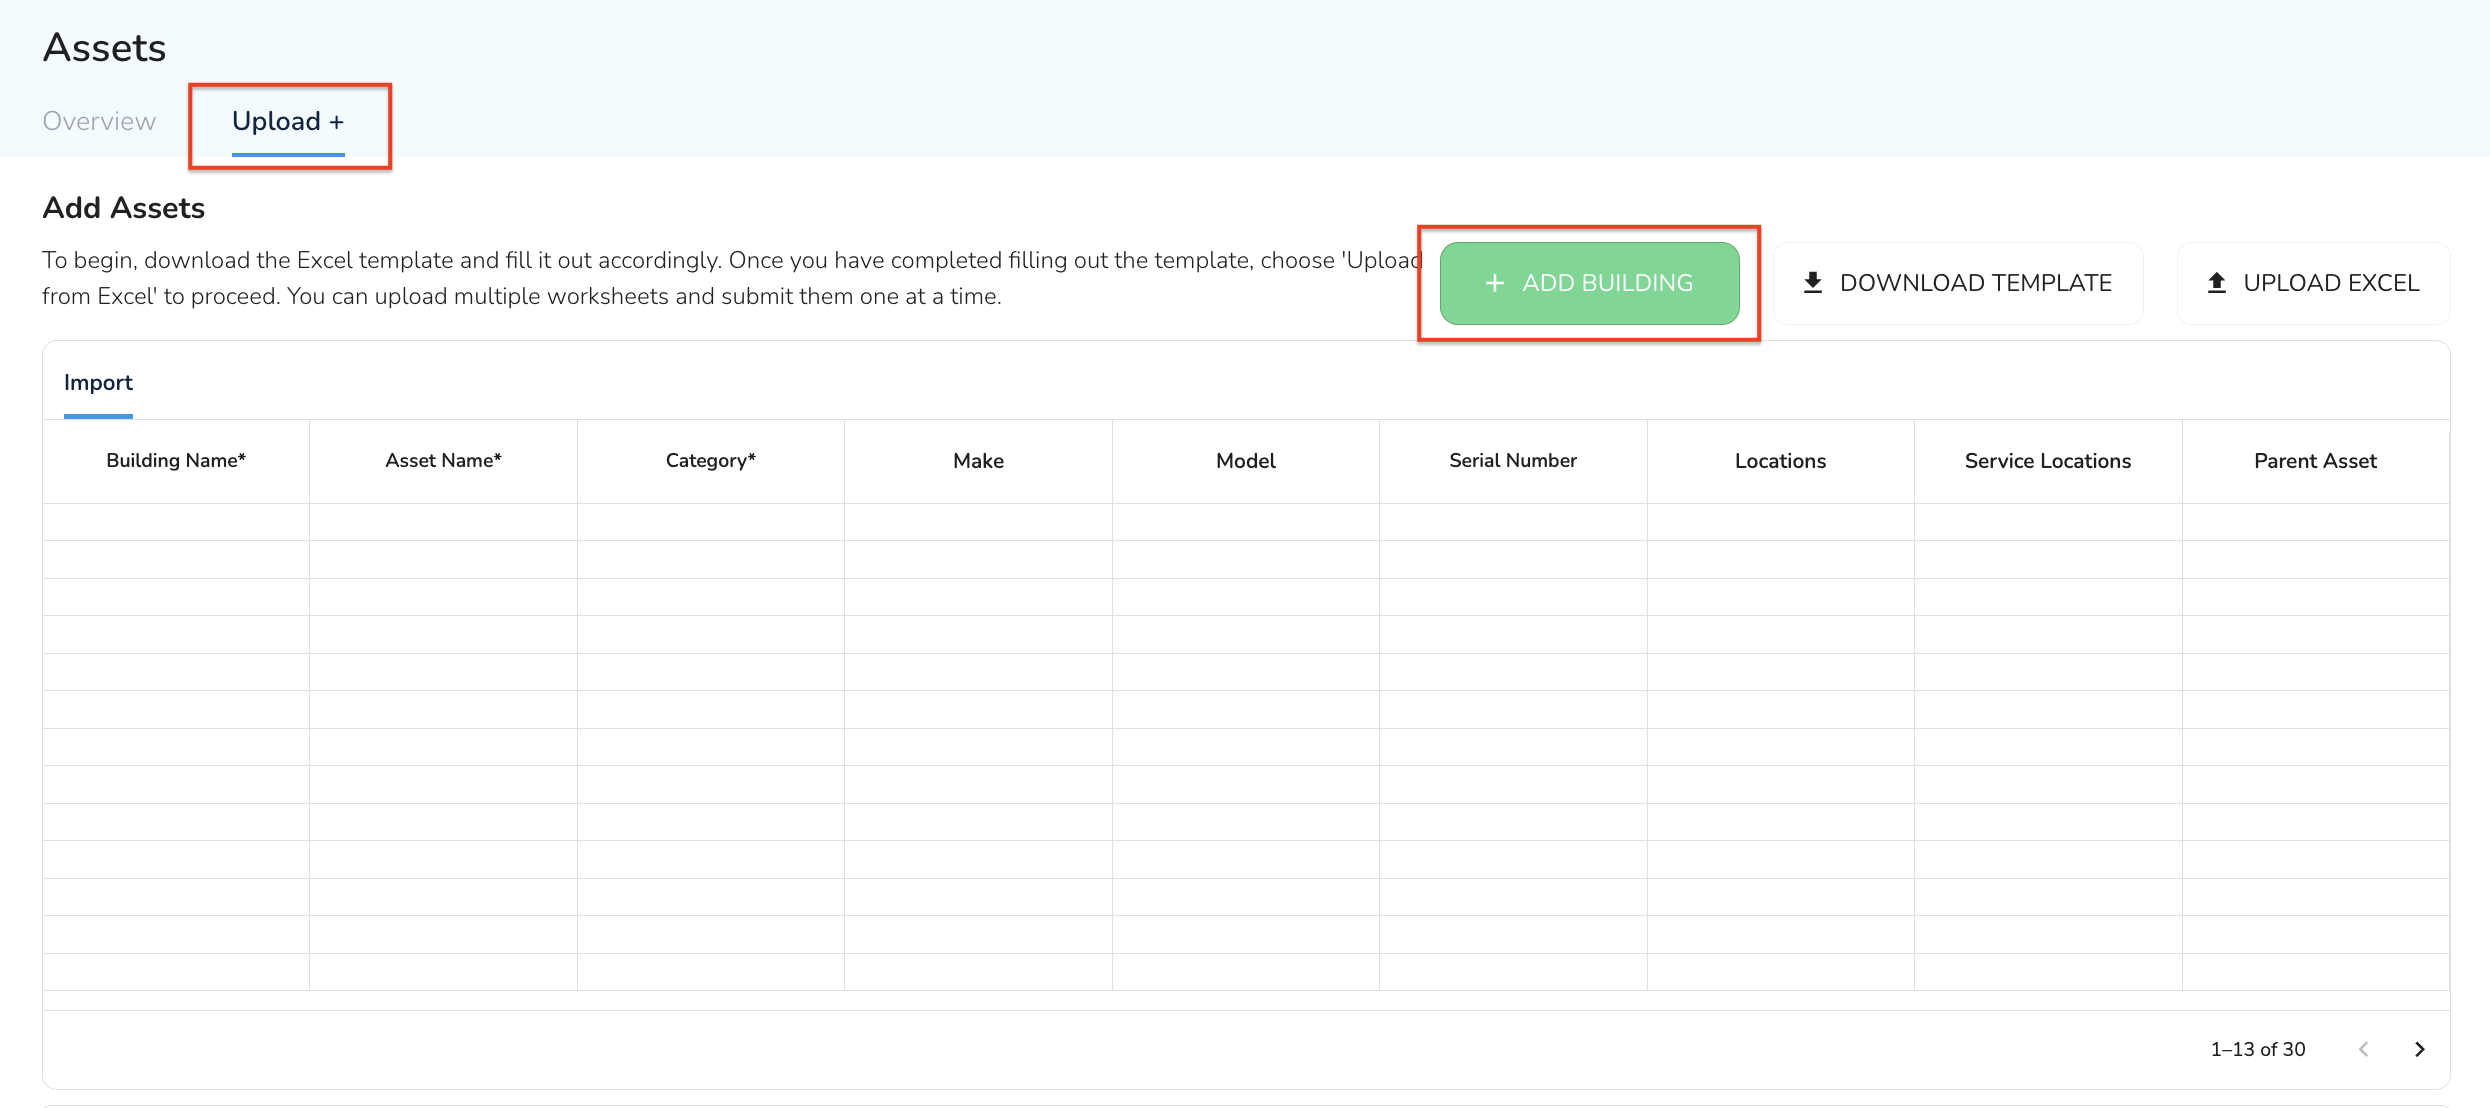
Click the + Add Building button. You will be redirected to the Upload + button on the Asset page. The new building form will automatically open.
Assets Page
From the Assets tab, click the Upload +, then click the ‘+ Add Building’ button in the top right. The Building Detail tab will automatically appear.
Assets Page

Enter Building Details
Fill Out the Building Form: A pop-up requesting details about the new building will appear. You will need to enter the following information:
.png)
A - Building Name
Enter the official name of the building. If the building name is left blank, the address will be used.
B - Address
Provide the complete physical address of the building.
Note
The Building Form supports Canada, USA and Mexico countries and timezones. Buildings from other countries can be added as well. However you will need to contact the support team (support@builtspace.com) to update the timezone.
C - Description
Include a brief description of the building, noting any important features or relevant information.
D - Owner and/or Manager
Specify the name of the building's owner and/or the manager responsible for overseeing it.
Note
Option to Create a Customer Record: At the bottom of the form, there is a checkbox labeled ‘Create customer with this building’s address’. If you need to create a customer account with this building’s address, select this checkbox.
Save the Building Information
Review the Information: Double-check all the details you’ve entered to ensure accuracy and completeness.
Click Save: Once you are satisfied with the information, click the ‘Save’ button to add the building to the Admin Portal.
Completion
Confirmation: Upon saving, you should receive a confirmation notification indicating that the building has been successfully added.
View Building: You can now upload assets to the building. Please find the steps here.
The building will also be available to view on the Service Twin App instantly. If you do not see it, please refresh your Organization data and it will be available.


.png)

